When I bought my house, one of the first things I noticed was a significant crack in the drywall near the living room. The previous owners had attempted to cover it with a large piece of art, but it was clear that the wall needed proper repair. As a person interested in structural maintenance, I knew I had to tackle this issue to prevent further damage.
How to Patch Drywall

This is my journey through the problem, and how I went about fixing it.
How it can Happen?
Drywall cracks can happen for several reasons, including settling of the foundation, temperature fluctuations, or even poor installation. In my case, I noticed a crack running horizontally along a seam where two sheets of drywall met. It was about a foot long, with smaller hairline cracks branching out from it. The first step was to assess the extent of the damage and determine if it was purely cosmetic or a sign of something more serious.
I checked for other signs of structural issues, like doors that wouldn’t close properly or uneven floors, but everything else seemed fine. The crack appeared to be isolated, which suggested it was due to natural settling and not a major structural concern.
Methods to Fix Drywall

With the problem identified, I researched the best methods to fix drywall cracks. There are various approaches, depending on the severity of the crack. For smaller cracks, you can use spackle, while larger cracks or holes may require drywall tape and joint compound. Since my crack was about a foot long, I decided to go with a combination of tape and compound for a more durable repair.
I gathered information from home improvement websites, DIY forums, and even a few YouTube tutorials. The consensus was clear: start with a clean surface, use the right materials, and don’t rush the drying process. With this knowledge, I was ready to gather my materials and get to work.
Materials Required
First, I needed the right tools and materials. Here’s what I used:
- Drywall joint compound (also known as “mud”)
- Drywall tape (mesh or paper, I opted for mesh)
- A putty knife
- A sanding block
- Primer and paint to match the existing wall color
Patching Drywall

Step 1: Preparing the Surface
Before I could patch the crack, I had to clean the area. I used a damp cloth to remove any dust or debris, ensuring the joint compound would adhere properly. Then, with a utility knife, I gently widened the crack to create a small V-shape. This provides more surface area for the joint compound to grip and ensures a smoother finish.
Step 2: Applying Drywall Tape
Next, I applied drywall tape over the crack. I chose mesh tape because it’s self-adhesive and easier to work with for smaller cracks. I made sure the tape was centered over the crack and pressed it firmly to ensure a strong bond.
Step 3: Applying Joint Compound
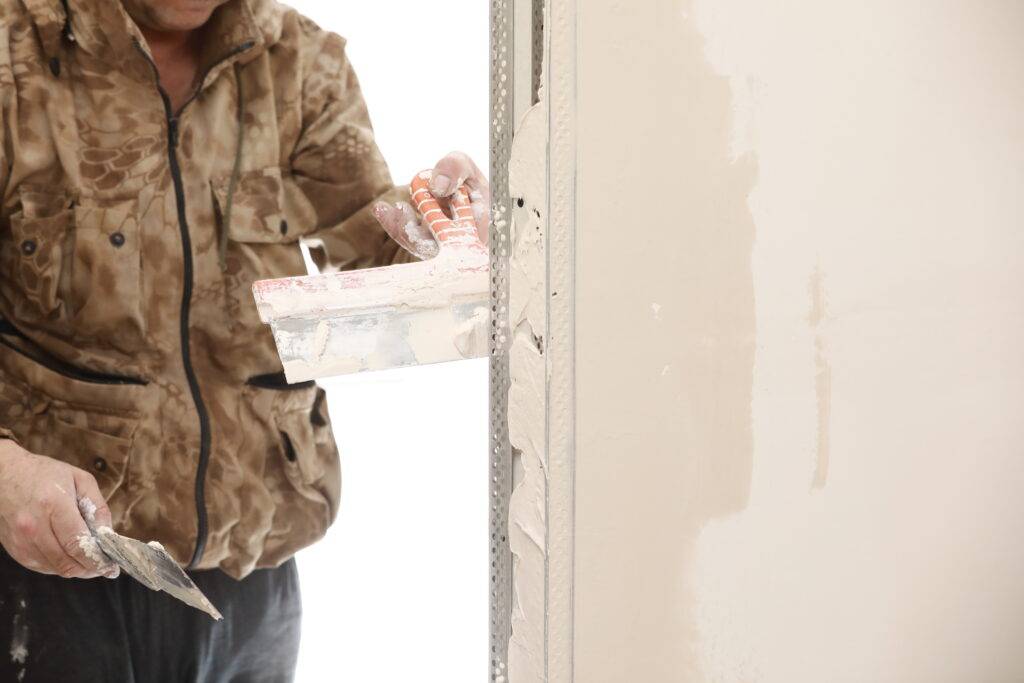
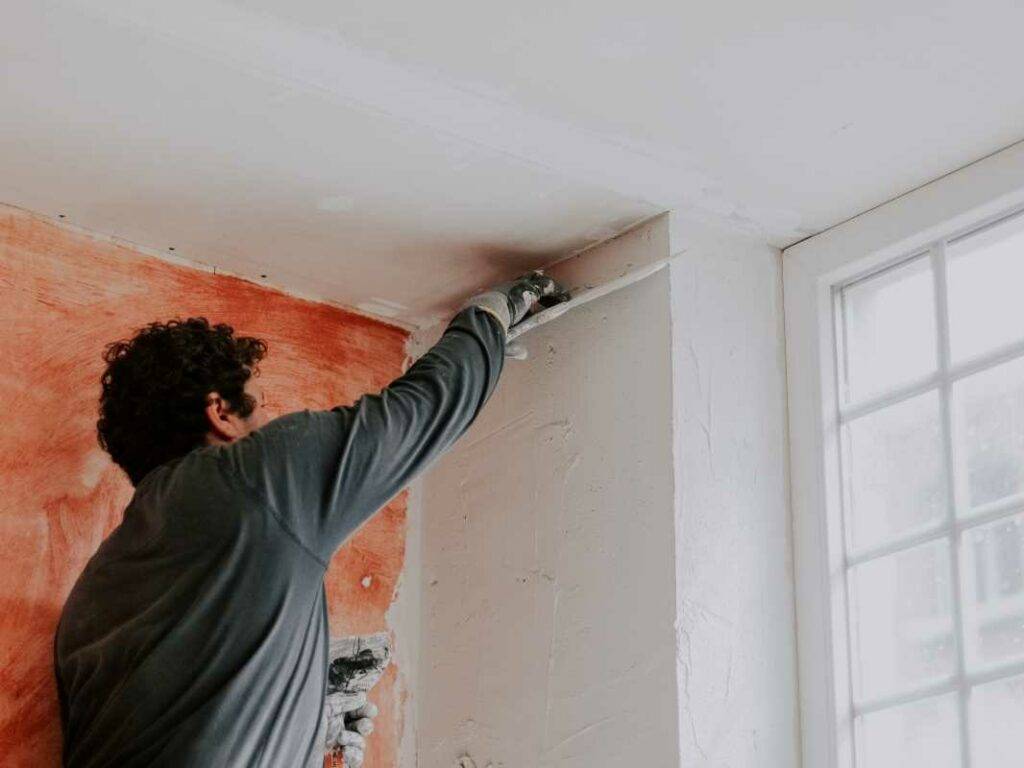
With the tape in place, it was time to apply the joint compound. Using a putty knife, I spread a thin layer of compound over the tape, extending a few inches on either side to blend it with the existing wall. The key here is to feather the edges to avoid noticeable seams once it’s painted. I let this first layer dry for about 24 hours, as recommended by the product instructions.
Step 4: Sanding and Reapplying Compound
Once the joint compound was dry, I used a sanding block to smooth out any rough spots or ridges. It’s essential to wear a mask during this step, as sanding creates a lot of dust. After sanding, I applied a second layer of joint compound, this time a bit wider than the first, and let it dry for another 24 hours. I repeated this process once more for a total of three layers, ensuring a smooth and even surface.
Step 5: Priming and Painting
With the joint compound completely dry and sanded smooth, I applied a primer to the patched area. This step is crucial to prevent the paint from soaking into the compound and to ensure a consistent finish. Once the primer dried, I painted the wall with the same color used throughout the living room. A couple of coats were enough to blend the patch with the rest of the wall, making it virtually invisible.
Learn more about Fixing a Roof Leak.
Conclusion
After following these steps, the drywall crack in my living room was gone, and the wall looked as good as new. Patching drywall can be a bit daunting, especially if you’re not used to DIY projects, but with the right tools and a bit of patience, it’s entirely manageable. If you encounter similar issues in your home, I hope my experience helps guide you through the process.
Remember, if you have any doubts about structural issues, it’s always best to consult with a professional. But for simple drywall cracks, this guide should give you the confidence to tackle the problem yourself. Good luck, and happy patching!
How do I know if a crack in my drywall is a sign of a serious structural issue?
Cracks in drywall can be due to normal settling or more significant structural issues. To determine the cause, check for other signs like slanted floors, sticking doors, or cracks in the foundation. If you notice multiple indicators of structural problems, consult a professional engineer.
However, if the crack is isolated and small, it’s likely due to minor settling or temperature changes. To be safe, monitor the crack over time; if it widens or new cracks appear, seek professional advice.
What are the best materials for patching drywall cracks?
To patch drywall cracks, you’ll need joint compound (also known as “mud”), drywall tape (mesh or paper), a putty knife, a sanding block, primer, and paint that matches your wall color. For smaller cracks, mesh tape is often preferred because it’s self-adhesive and easy to work with.
Larger cracks or holes might require paper tape for additional strength. Joint compound is essential for smoothing the patched area, while primer and paint ensure a seamless finish. Ensure you have proper protective equipment like a dust mask for sanding.
How long does it take to patch a crack in drywall?
Patching a crack in drywall generally takes a few days due to drying times. After preparing the surface and applying drywall tape, the first layer of joint compound needs about 24 hours to dry completely. Subsequent layers, sanding, and additional drying time add to the total duration.
Applying primer and paint also requires drying time, typically a few hours between coats. Overall, expect the entire process to take around 2-3 days, depending on the number of joint compound layers and drying conditions in your home. Patience is key for a smooth and durable finish.

