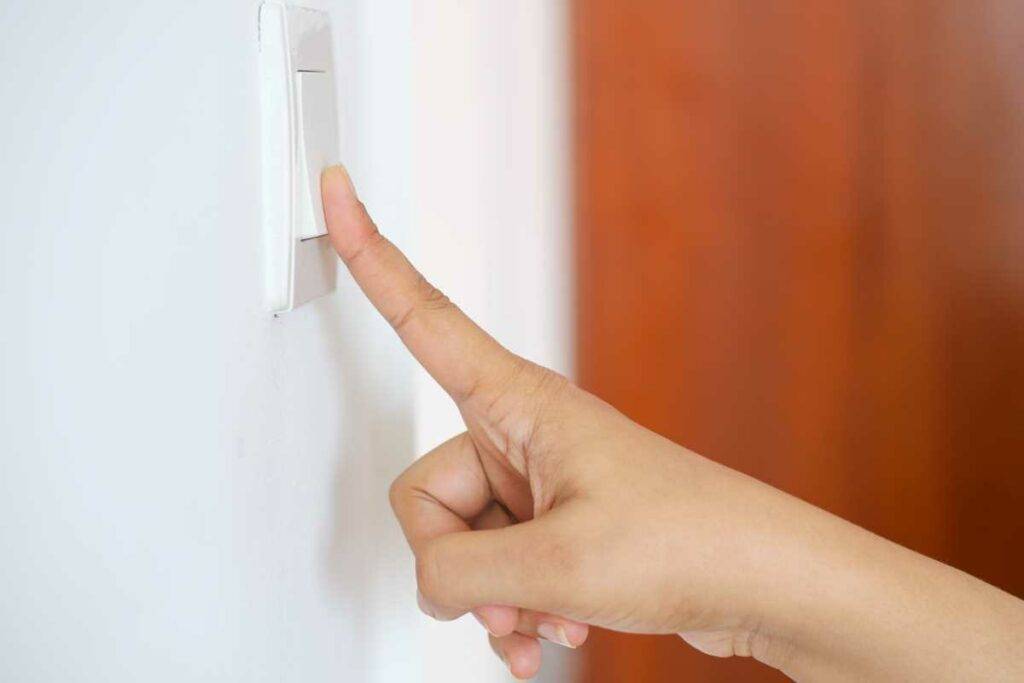
Wiring a light switch might sound daunting, but with the right knowledge, tools, and safety precautions, it’s a task that even a DIY novice can handle. I remember the first time I needed to wire a light switch in my home. It was a simple toggle switch in my kitchen that controlled the overhead light. When it stopped working, I knew it was time to replace it.
How To Wire A Light Switch?
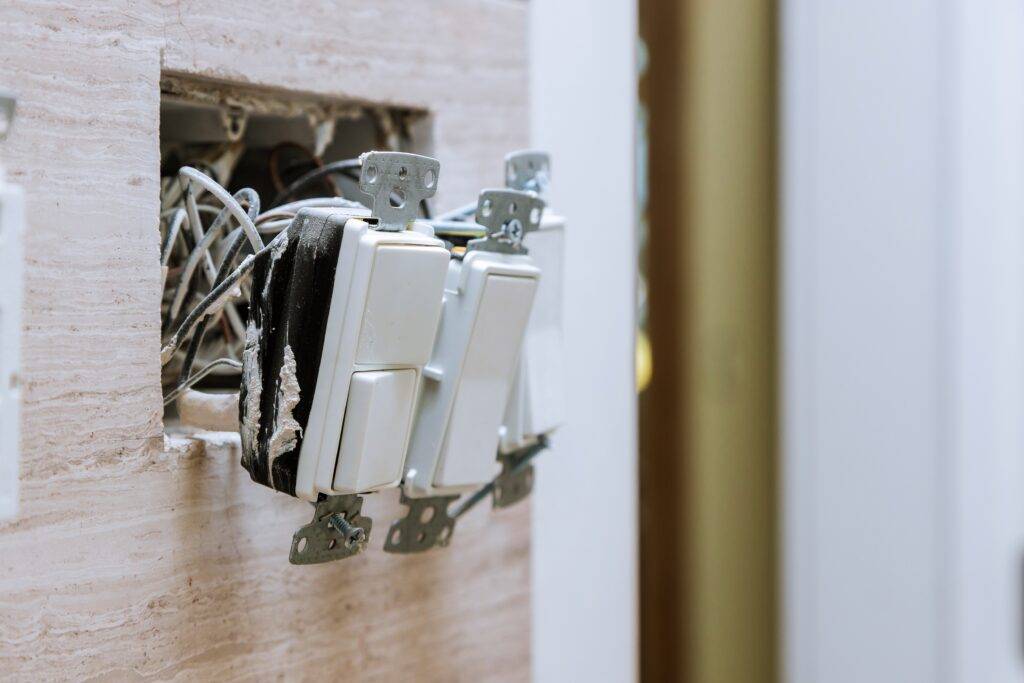
Here’s a comprehensive guide based on my experience, covering the entire process from safety checks to final installation.
Safety First: Key Precautions
Before diving into the technical details, let’s talk about safety. Working with electricity is a serious business. One wrong move can result in severe injury or even death. Here’s what I did to ensure my safety:
- Turn Off the Power: This is non-negotiable. I went to my circuit breaker panel and flipped the switch that controlled the circuit for my kitchen. I then checked the light switch with a voltage tester to confirm there was no power. It’s crucial to ensure there’s no electricity flowing before you start working.
- Use Proper Tools: I gathered all the necessary tools, including a screwdriver, wire stripper, voltage tester, and needle-nose pliers. Using the right tools helps prevent accidents and makes the job easier.
- Work in a Well-Lit Area: Having good lighting is essential when dealing with electrical wiring. I made sure my work area was well-lit so I could clearly see what I was doing.
Identifying the Light Switch Type
Light switches come in various types, from simple toggle switches to dimmers and beyond. In my case, I needed to replace a basic single-pole toggle switch, which is the most common type. A single-pole switch has two terminals: one for the incoming power (hot wire) and one for the outgoing wire that leads to the light fixture. If you’re dealing with a different type of switch, the wiring might be more complex.
Step-by-Step Guide to Wiring a Light Switch
With safety in mind and my tools ready, I began the process of wiring my light switch. Here’s a detailed step-by-step guide that follows what I did:
Step 1: Remove the Old Light Switch
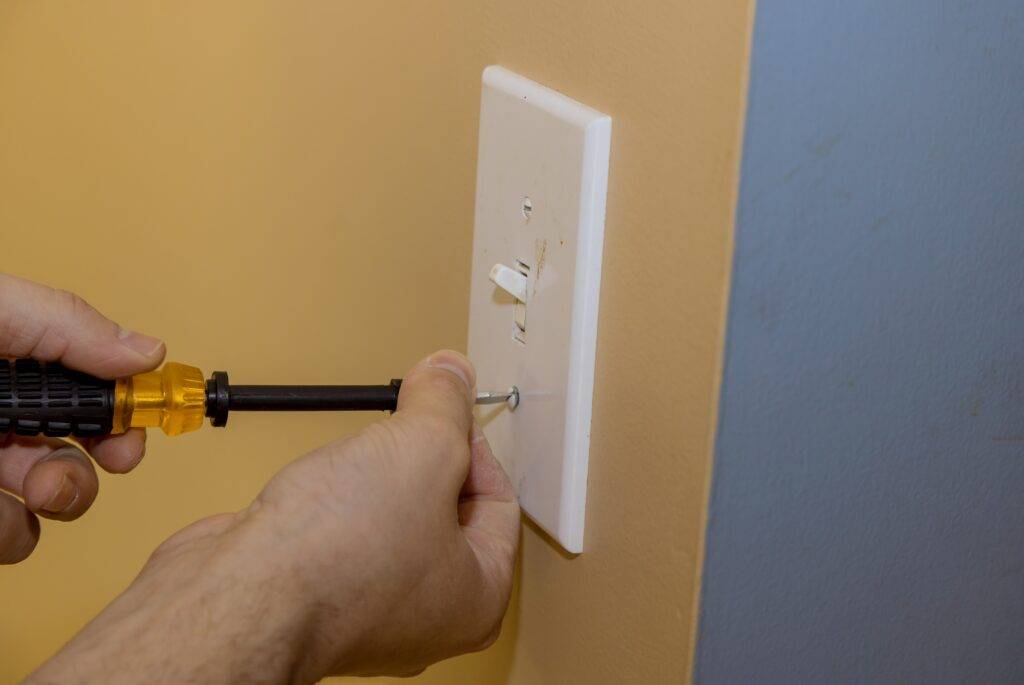
After ensuring the power was off, I removed the faceplate from the light switch using a screwdriver. I then unscrewed the switch from the electrical box, carefully pulling it out to expose the wires. It’s important to do this gently to avoid damaging the wires or the box.
Step 2: Identify the Wires
With the switch out, I took a moment to identify the wires. Typically, you’ll find three types of wires in a light switch:
- Hot Wire: This is the wire that carries electricity from the circuit breaker to the switch. It’s usually black or red.
- Neutral Wire: This wire completes the electrical circuit by returning electricity to the breaker. It’s typically white.
- Ground Wire: This wire provides a safety path for electricity in case of a fault. It’s usually bare copper or green.
In my case, I had a black hot wire, a white neutral wire, and a bare copper ground wire. The ground wire is crucial for safety, and I made sure to keep it connected to the ground terminal on the switch.
Step 3: Disconnect the Wires from the Old Switch
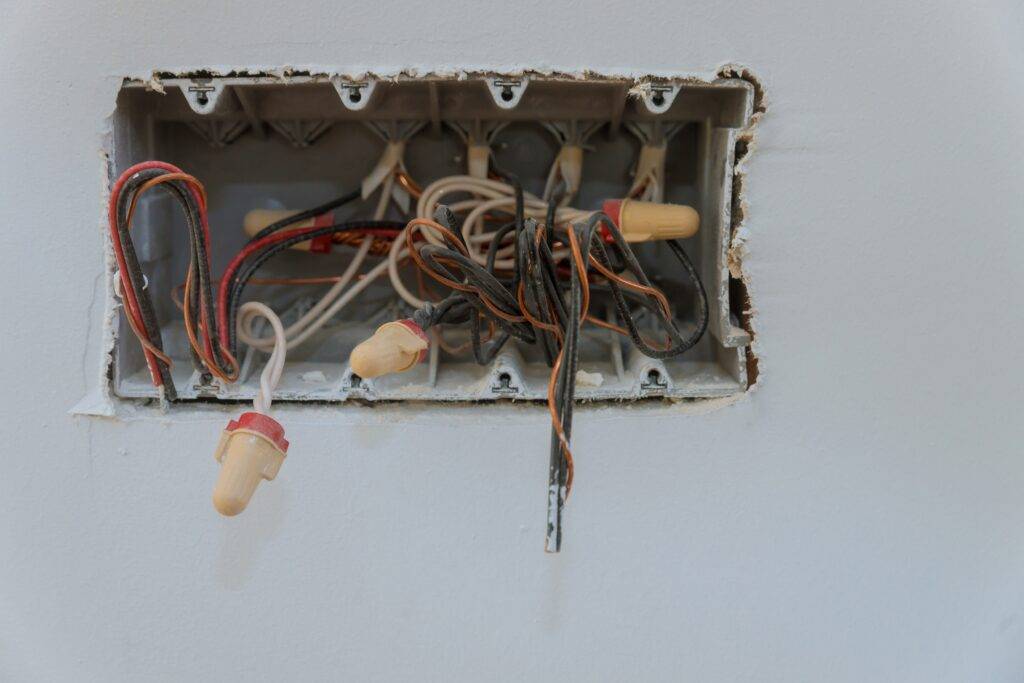
Using a screwdriver, I carefully loosened the screws holding the hot and neutral wires to the old switch. I then disconnected the ground wire. It’s important to remember which wire goes where, so I took a photo to ensure I connected the new switch correctly.
Step 4: Connect the New Light Switch
With the old switch removed, I started connecting the new switch. Here’s what I did:
- Connect the Ground Wire: I attached the ground wire to the ground terminal on the new switch. This is typically a green screw or a specific ground terminal.
- Connect the Hot Wire: I connected the black hot wire to the terminal on the new switch marked for the hot wire. If the switch has a specific orientation, ensure you connect the hot wire to the correct terminal.
- Connect the Neutral Wire: I connected the white neutral wire to the other terminal on the switch. Check the switch’s instructions or diagram if you’re unsure which terminal is which.
Step 5: Secure the New Switch and Test
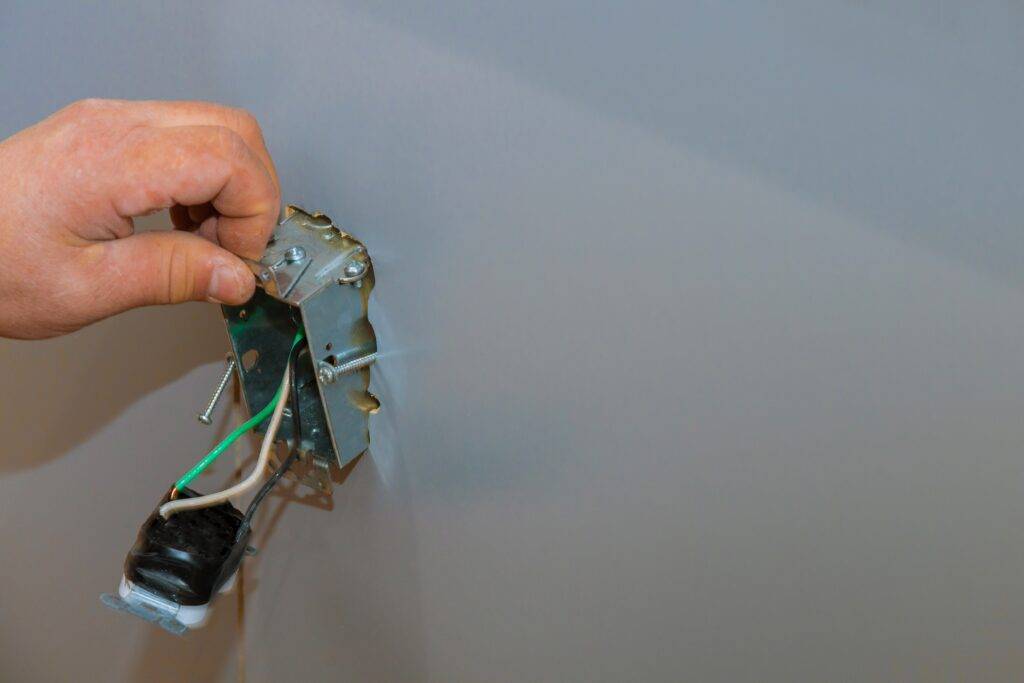
Once the wires were connected, I carefully placed the new switch back into the electrical box and secured it with screws. I then attached the faceplate and ensured everything was snug.
After everything was in place, I went back to the circuit breaker and turned the power on. I returned to the light switch and tested it by flipping it on and off. The light came on without issue, indicating I had wired it correctly. I was relieved that everything worked, and I didn’t have to call an electrician.
You can also read about removing stripped screws
Additional Tips and Troubleshooting
Wiring a light switch can be straightforward, but it’s essential to be cautious and follow safety procedures. Here are some additional tips and troubleshooting suggestions from my experience:
- Double-Check the Power: Always use a voltage tester to ensure there’s no power before working on any electrical project. This step can save your life.
- Keep Wires Organized: When disconnecting wires, keep track of which wire goes where. Taking photos or making notes can be helpful.
- Seek Professional Help if Needed: If you’re unsure about any step or encounter unexpected issues, don’t hesitate to call a professional electrician. It’s better to be safe than sorry.
Conclusion
Wiring a light switch can be a rewarding DIY project, but it requires caution and attention to detail. By following the step-by-step guide and adhering to safety precautions, you can replace a faulty light switch and restore functionality to your home. If you’re ever in doubt, don’t hesitate to seek professional help—safety should always be the top priority.
What Should I Do If the New Switch Doesn’t Work?
If your new light switch doesn’t work after installation, there could be several reasons:
Check the Connections: Ensure all wires are securely connected to the correct terminals. Loose or incorrect connections are common causes of issues.
Test the Circuit Breaker: Check if the circuit breaker controlling the switch has tripped. If so, reset it and test the switch again.
Inspect the Switch: The switch itself could be faulty. Try using a different switch to see if the problem persists.
Examine the Wiring: If the wiring is old or damaged, it might need repair or replacement. In this case, it’s best to call a professional electrician.
Can I Replace a Light Switch with a Dimmer?
Yes, you can replace a standard light switch with a dimmer, but there are a few things to consider:
Check Compatibility: Ensure the dimmer is compatible with your lighting system, especially if you have LED or CFL bulbs. Some dimmers work best with specific bulb types.
Follow Instructions: Wiring a dimmer can be more complex than a standard switch. Follow the manufacturer’s instructions carefully.
Use the Right Dimmer: Some dimmers are designed for single-pole switches, while others are for three-way switches. Make sure you have the correct type.
Consider Heat: Dimmers can generate heat, so ensure there’s adequate ventilation in the electrical box. If in doubt, consult a professional electrician.
What If I Have an Older Home with Different Wiring?
Older homes often have different wiring setups, which can complicate light switch replacement. Here’s what to do:
Inspect the Wiring: Older homes might have cloth-covered wiring or other outdated materials. If you see signs of wear, fraying, or brittleness, call a professional electrician.
Use a Voltage Tester: Older wiring can be unpredictable. Always use a voltage tester to ensure there’s no power before working on it.
Consider Upgrades: If your home has outdated wiring, it might be time for an upgrade. Consult with an electrician to determine the best course of action.
Check for Grounding: Some older homes lack proper grounding. If your switch box has no ground wire, consult an electrician for advice on how to proceed.
Disclaimer: This information is for general purposes only. Consult a professional for specific advice. See our terms and conditions for details.
