Building a fence can be a rewarding DIY project, offering privacy, security, and aesthetic appeal to your property. Whether you’re looking to keep pets in, keep intruders out, or simply mark property boundaries, a well-built fence can achieve your goals. I recently built a fence around my backyard, and I want to share my experience with you.
In this guide, I’ll cover the planning, tools, step-by-step construction, and important considerations. I’ll also address some common questions at the end.
How to Build a Fence?

Before you start digging holes and setting posts, it’s crucial to plan your fence. This involves several key steps that will help ensure a successful project.
Determine the Purpose of the Fence
First, consider why you’re building the fence. Do you need privacy, security, noise reduction, or merely a decorative boundary? Knowing the purpose helps you choose the right type of fence and design.
Check Local Regulations and Permits
Before you build a fence, check with your local building department to understand regulations and permits required. This step is vital to avoid legal issues or fines later on. I learned that in my area, a permit was required for fences over 6 feet tall, and there were setback rules to follow.
Choose the Right Materials
Fences can be made from various materials, including wood, vinyl, metal, and composite. Each material has its pros and cons. Here’s a quick overview:
- Wood: A classic choice, offering a natural look and flexibility in design. However, wood requires more maintenance and is prone to rot and decay.
- Vinyl: Durable and low-maintenance, vinyl fences are resistant to rot and insects. They come in a variety of styles but tend to be more expensive than wood.
- Metal: Strong and durable, metal fences are excellent for security. They can be decorative (like wrought iron) or utilitarian (like chain link).
- Composite: Made from a mix of wood fibers and plastic, composite fences offer the look of wood with less maintenance.
For my fence, I chose pressure-treated wood for its durability and affordability. I wanted a natural look and was willing to invest time in maintenance.
Measure and Mark Your Fence Line

Once you’ve chosen your material, measure and mark the fence line. This step is crucial to ensure your fence is straight and aligned with property boundaries. I used stakes and string to mark the fence line, making sure it was level and squared. I also checked with my neighbors to ensure there were no boundary disputes.
Step-by-Step Guide to Building a Fence

With the planning complete, I began the actual construction. Here’s a detailed step-by-step guide based on my experience.
Step 1: Gather the Necessary Tools and Materials
Before you start building, make sure you have all the tools and materials you need. Here’s a list of what I used:
- Post hole digger or auger
- Level
- Tape measure
- Stakes and string
- Circular saw
- Power drill and bits
- Concrete mix
- Wheelbarrow and shovel
- Safety gear (gloves, safety glasses)
- Fence panels or pickets
- Fence posts
- Screws or nails
Step 2: Dig the Post Holes
With the tools and materials ready, I started by digging the post holes. Here’s how I did it:
- Mark the Post Locations: Using the stakes and string, I marked where each post would go. The distance between posts depends on the fence design, but typically, it’s 6-8 feet apart.
- Dig the Holes: Using a post hole digger or auger, I dug holes to a depth of about one-third the height of the fence. For a 6-foot fence, I dug 2-foot-deep holes. The width of the holes should be at least twice the diameter of the posts.
- Add Gravel for Drainage: I added a few inches of gravel to the bottom of each hole to improve drainage and prevent water from pooling around the posts.
Step 3: Set the Fence Posts

With the holes dug, it was time to set the fence posts. This step requires precision to ensure the posts are straight and level. Here’s how I did it:
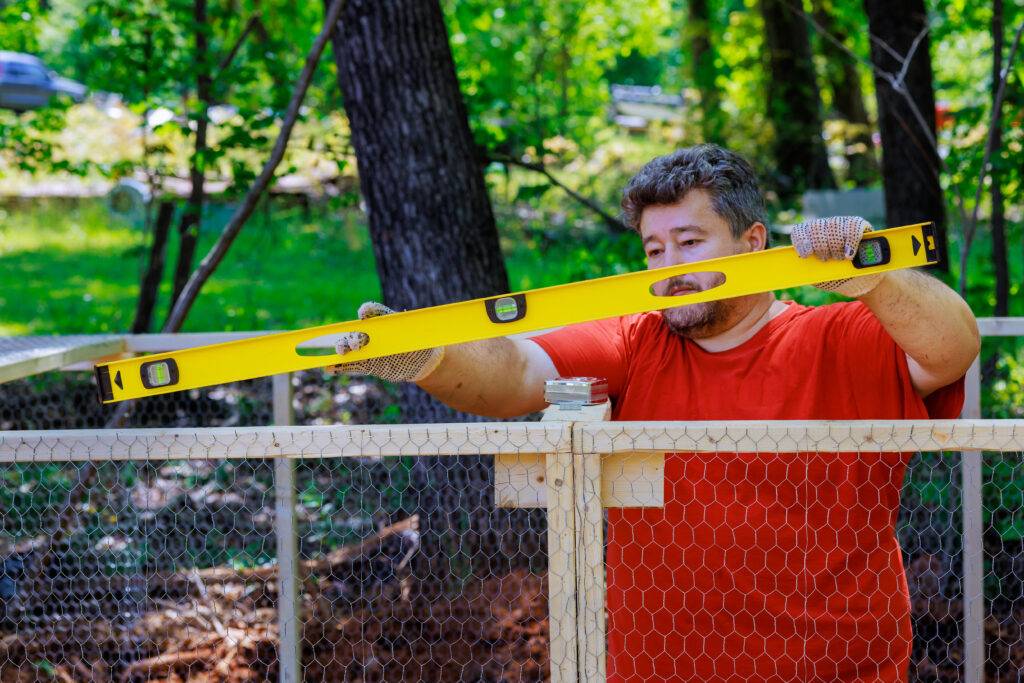
- Place the Posts in the Holes: I placed each fence post in its corresponding hole. To keep them level, I used a string line across the tops of the posts and a level on the sides.
- Add Concrete Mix: I mixed the concrete in a wheelbarrow and poured it into the holes around the posts. I made sure the posts were centered and straight while the concrete set.
- Let the Concrete Cure: I allowed the concrete to cure for at least 24 hours before attaching the fence panels. This ensures a strong and stable base for the fence.
Step 4: Install the Fence Panels or Pickets
With the posts set, I began installing the fence panels. The method varies depending on the type of fence. I chose pre-assembled fence panels, which made the installation quicker. Here’s what I did:
- Align the Panels: I positioned each panel between the posts, aligning them with the string line. This step ensures the fence is straight.
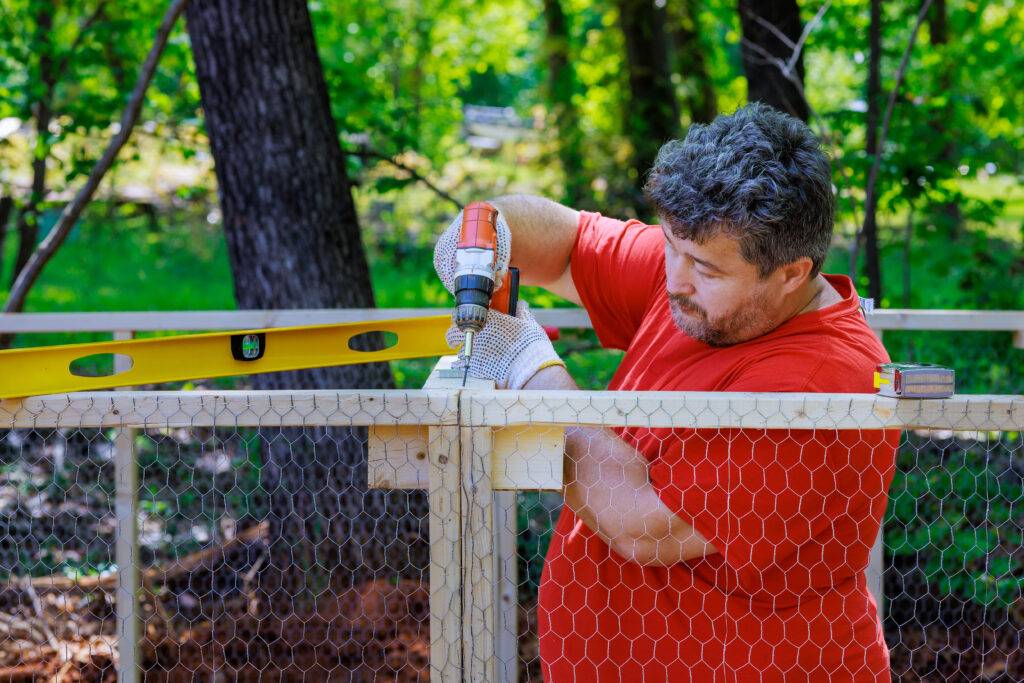
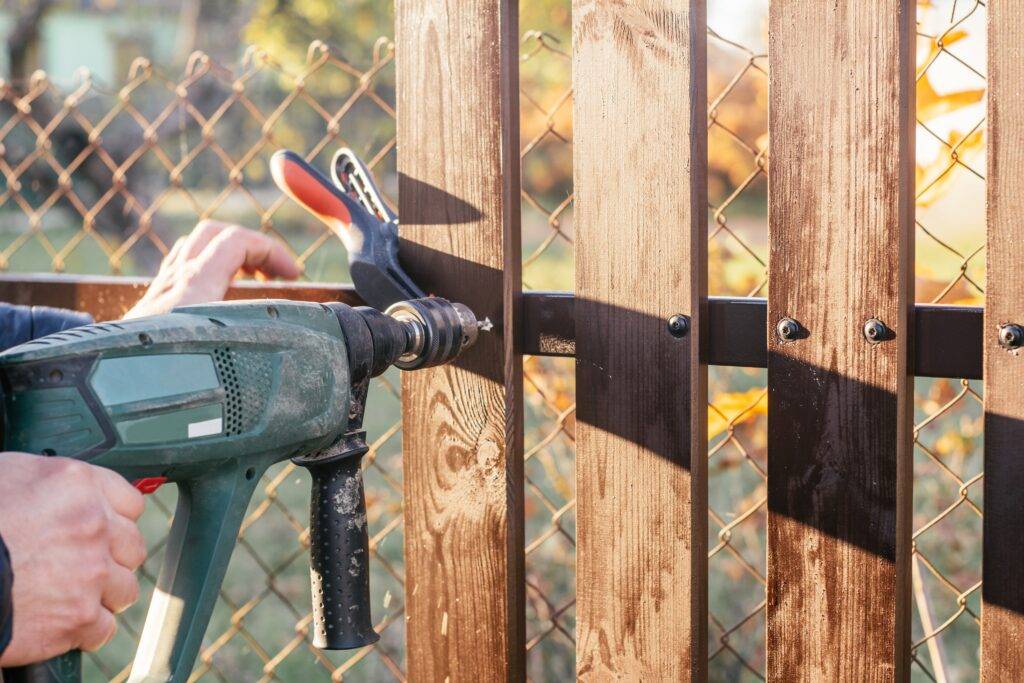
- Attach the Panels to the Posts: Using a power drill and screws, I secured the fence panels to the posts. I made sure they were level and properly aligned before fully tightening the screws.
- Adjust for Uneven Ground: If your ground is uneven, you might need to cut the fence panels to fit. I used a circular saw to make precise cuts where needed.
Step 5: Add Finishing Touches
With the fence panels in place, I focused on the finishing touches. These details can enhance the look and durability of your fence. Here’s what I did:
- Add a Top Rail: I installed a top rail along the length of the fence to provide additional stability and a clean look. This step also helps keep the fence straight over time.
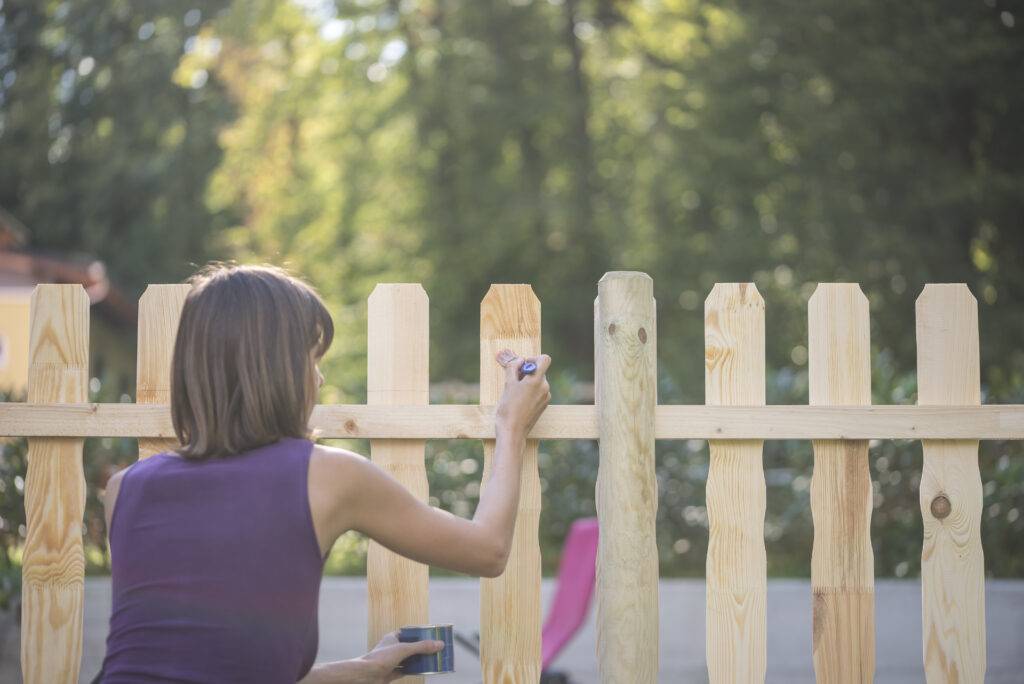
- Stain or Paint the Fence: To protect the wood and improve its appearance, I stained the fence with a weather-resistant finish. This step is essential for wood fences to prevent rot and decay.
- Install a Gate: If you need access through the fence, install a gate. I attached a pre-made gate to the fence, using heavy-duty hinges and a latch.
Additional Tips and Troubleshooting
Building a fence can be a rewarding project, but it’s essential to follow best practices and address common issues. Here are some additional tips and troubleshooting suggestions from my experience:
- Check Local Regulations: Always check with your local building department before starting a fence project. This step can help you avoid legal issues and ensure your fence is compliant.
- Consider Your Neighbors: If your fence borders a neighbor’s property, discuss your plans with them beforehand. This step can prevent disputes and ensure everyone is on the same page.
- Maintain Your Fence: Regular maintenance is crucial, especially for wood fences. Apply a weather-resistant stain or paint every few years to keep the fence in good condition.
Conclusion
Building a fence is more than just constructing a boundary, it’s about creating a space that feels secure and aligns with your style. As I stepped back to admire my completed fence, I realized it wasn’t just about putting up a physical barrier; it was about shaping the way I interact with my outdoor space. The sense of accomplishment that comes from building something with your own hands is unparalleled.
If you’re planning to build a fence, remember that preparation is key. Taking the time to choose the right materials, measure accurately, and understand local regulations will make the entire process smoother. Don’t rush it, enjoy the journey of learning new skills and creating something that adds value to your home.
How Deep Should Fence Posts Be?
The depth of fence posts depends on the height of the fence and the local climate. A common rule of thumb is that the post hole should be about one-third the height of the fence. For a 6-foot fence, this means digging 2-foot-deep holes. However, in areas with frost heave or unstable soil, you might need to dig deeper for stability. Adding gravel at the bottom of the hole helps with drainage and prevents water damage to the posts.
Can I Build a Fence on Uneven Ground?
Yes, you can build a fence on uneven ground, but it requires additional adjustments. Here are some tips:
Use a Level and String Line: Keep the fence level by using a string line across the tops of the posts. This helps maintain a consistent height.
Adjust Fence Panels: If the ground is sloping, you might need to cut the panels to fit. Use a circular saw to make precise cuts to ensure the fence follows the contour of the ground.
Consider Stepping the Fence: For significant changes in elevation, consider stepping the fence. This involves creating distinct sections with staggered heights to accommodate the slope.
How Can I Ensure My Fence is Secure and Long-Lasting?
To ensure your fence is secure and long-lasting, consider the following:
Use Quality Materials: Choose durable materials like pressure-treated wood, vinyl, or metal. These materials are more resistant to rot, decay, and weather damage.
Properly Set the Fence Posts: The posts are the foundation of your fence. Ensure they’re deep enough and securely set in concrete.
Apply Weather-Resistant Finish: If you’re using wood, apply a stain or paint designed for outdoor use. This helps protect the fence from moisture and UV damage.
Regular Maintenance: Regularly inspect your fence for signs of wear or damage. Tighten any loose screws, replace damaged panels, and reapply the weather-resistant finish as needed.
Disclaimer: This information is for general purposes only. Consult a professional for specific advice. See ourterms and conditions for details.

