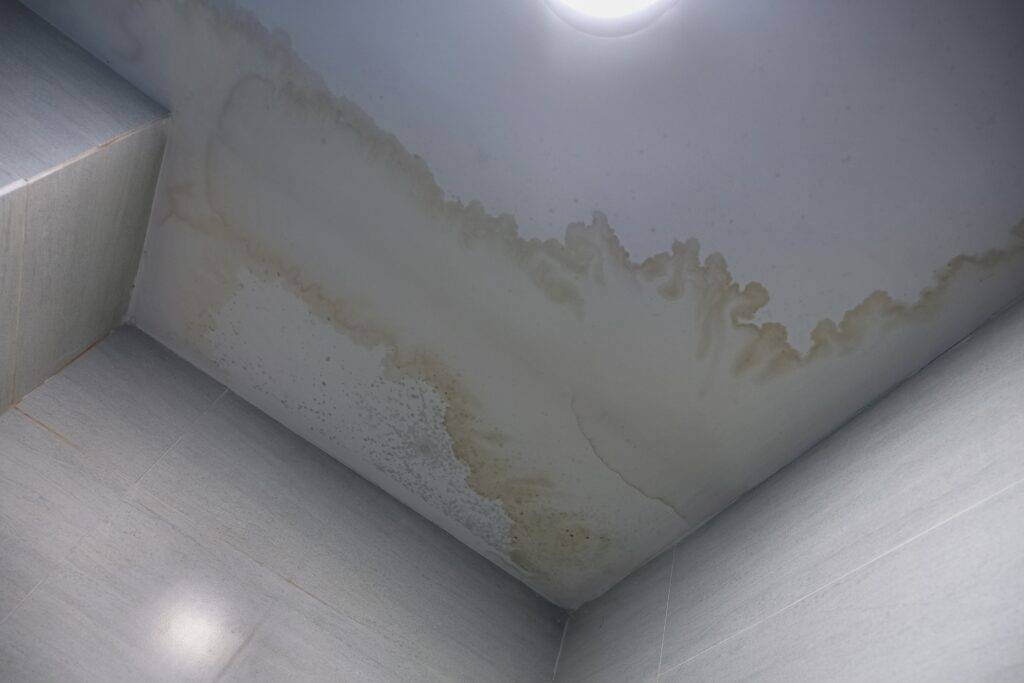
It started with a tiny drip. At first, I thought it was just condensation from the unusually humid night, but when the steady dripping turned into a more significant trickle, I knew something was wrong. There it was, a dark stain forming on my living room ceiling, spreading slowly with each drop. Roof leaks can be the stuff of homeowner nightmares, leading to water damage, mold, and even structural problems if left unchecked. As someone who specializes in home structural maintenance, I decided to tackle the problem head-on.
How to Fix a Roof Leak?
The process begins with the cause, Where can it be?
Identifying the Cause

I started by inspecting the attic to determine where the water was coming from. The smell of dampness and the sight of moisture on the roof decking confirmed my worst fears. This wasn’t just a one-time leak—it was an ongoing issue. Water can travel along beams and trusses, making it difficult to pinpoint the exact entry point. I traced the dampness back to an area where the roof met the chimney, indicating a possible problem with the flashing.
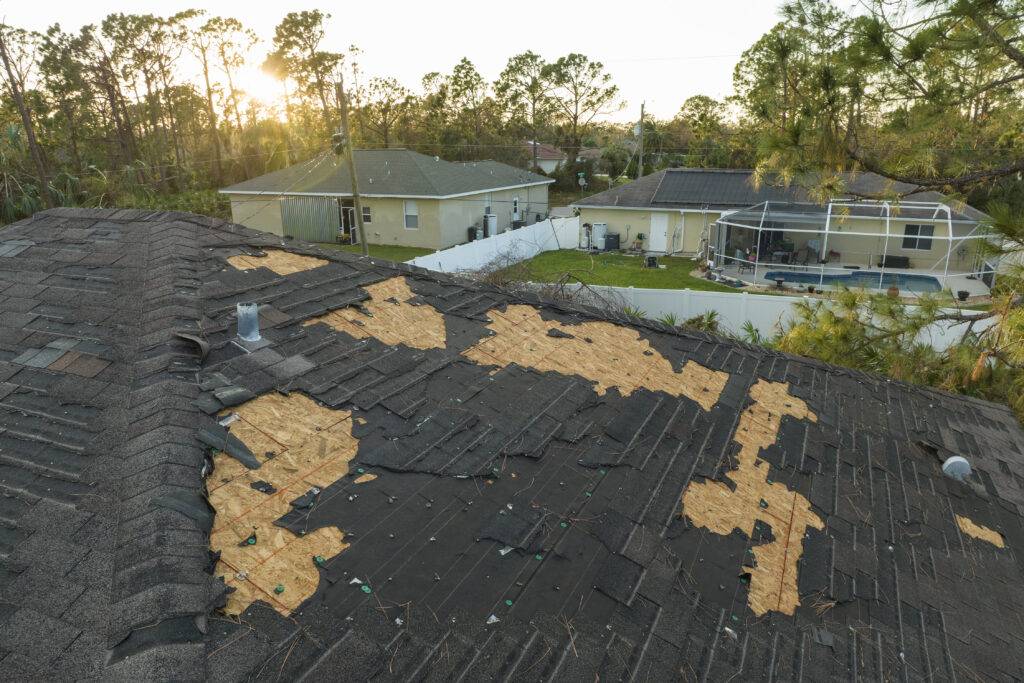
After this initial inspection, I checked the roof from the outside. Climbing up with a sturdy ladder, I noticed a couple of shingles that were cracked and one that was completely missing. These were obvious signs of roof damage and likely sources of the leak. Additionally, the flashing around the chimney had started to lift, creating gaps where water could easily seep in.
Methods to Fix Roof Leaks
With the problem identified, I knew I needed to find the best way to repair it. My first resource was a well-thumbed home maintenance manual, but I also looked online for additional information. I found a wealth of knowledge on DIY websites, forums, and YouTube tutorials, each offering different solutions depending on the severity of the leak. The three most common methods for fixing roof leaks were:
- Replacing Damaged Shingles: This is a relatively straightforward fix if you have cracked or missing shingles. It involves removing the damaged pieces and replacing them with new ones.
- Resealing Flashing and Roof Vents: Flashing is meant to protect roof joints, but if it’s damaged or improperly installed, it can lead to leaks. Resealing with roofing cement or silicone is often enough to resolve the problem.
- Repairing Roof Decking: This is more complex, as it involves replacing sections of the roof structure itself. If the decking is warped or rotten, it’s essential to replace it to prevent further issues.
After considering the various methods, I decided on a combination of replacing damaged shingles and resealing the flashing. This would address both the visible damage and the underlying cause of the leak.
Tools Required

With a plan in place, I gathered the necessary tools and materials:
- Replacement shingles
- Roofing cement and silicone sealant
- A pry bar and a hammer
- Roofing nails
- A sturdy ladder
- Safety gear, including a harness, gloves, and non-slip shoes
Fixing a Roof Leak
With everything ready and all the material/tools organized I started the process of mending it.
Step 1: Replacing Damaged Shingles
The first step was to replace the damaged shingles. I carefully climbed onto the roof, ensuring my ladder was secure and my safety harness was properly fastened. Using the pry bar, I lifted the edges of the shingles surrounding the damaged area, then removed the nails holding the broken shingles in place. After removing the damaged shingles, I cleaned the area to ensure a smooth surface for the new ones.
Installing the replacement shingles was relatively straightforward. I slid them into place, ensuring they aligned with the existing shingles, then nailed them down securely. To ensure proper water flow, I staggered the placement of the new shingles, mimicking the original pattern.
Step 2: Sealing Flashing and Roof Vents
With the shingles replaced, I turned my attention to the flashing around the chimney. It was clear that the flashing had started to lift, allowing water to seep through. Using roofing cement, I carefully sealed the gaps, ensuring a watertight barrier. I also added a bead of silicone sealant around the base of the roof vents to provide additional protection.
Step 3: Inspecting and Testing

After completing the repairs, I inspected the entire roof to ensure there were no other areas of concern. I checked the gutters for debris and looked for any other signs of damage or wear. To test my repairs, I used a garden hose to simulate rain, directing the water over the repaired area. I then returned to the attic to check for any signs of new moisture. Thankfully, the test was successful, indicating that the repairs had resolved the leak.
Read more about the process of Patching a Drywall
Conclusion
Fixing a roof leak can be a daunting task, especially when you consider the potential damage it can cause. However, with the right tools, materials, and safety precautions, it’s a manageable DIY project. The key is to act quickly to prevent further damage and to follow the proper steps to ensure a durable repair. If you’re unsure about any step in the process, don’t hesitate to seek the advice of a professional roofer.
Roof leaks can lead to significant problems if not addressed promptly. If you notice signs of a leak in your home, such as water stains, mold, or dampness, take action immediately. Follow this guide, and you’ll be on your way to a safe and secure roof.
How can I detect a roof leak before it causes significant damage?
Detecting a roof leak early can save you from costly repairs. Common signs of a roof leak include water stains on ceilings or walls, musty odors, peeling paint, and dampness in the attic. You can also check for damaged shingles or loose flashing on the roof. Regular inspections, especially after heavy storms, can help you spot potential leaks before they worsen. If you notice any signs of a leak, act quickly to identify the source and make necessary repairs. Early detection is key to preventing further damage and costly repairs.
What safety precautions should I take when fixing a roof leak?
Safety is critical when working on a roof. Always use a sturdy ladder and ensure it’s on a stable surface. Wear non-slip shoes, gloves, and a safety harness to prevent falls. Avoid working on a wet or slippery roof, and never attempt repairs during bad weather. If the roof is steep or difficult to access, consider hiring a professional roofer. It’s also advisable to have someone with you in case of an emergency. Taking these precautions will help ensure your safety while fixing a roof leak.
How can I prevent roof leaks in the future?
Preventing roof leaks involves regular maintenance and inspection. Clean gutters regularly to prevent blockages and ensure proper water flow. Inspect your roof periodically for damaged shingles, loose flashing, or other signs of wear. Trim overhanging branches to prevent damage from falling limbs during storms. Additionally, ensure roof vents and other penetrations are properly sealed. If you live in an area prone to severe weather, consider a roof inspection by a professional roofer every few years. These preventive measures can help you avoid roof leaks and extend the life of your roof.
Can I fix a roof leak myself, or should I hire a professional?
You can fix a roof leak yourself if it’s a minor issue, like a damaged shingle or a small gap around roof vents. DIY repairs can be cost-effective, but it’s crucial to use the right tools and safety precautions. For complex leaks or if you’re uncomfortable working at heights, it’s best to hire a professional roofer. Professional roofers have the expertise and equipment to safely and effectively address roof leaks. If you’re unsure about your ability to fix the leak, seek professional assistance to avoid further damage.
Disclaimer: This information is for general purposes only. Consult a professional for specific advice. See our terms and conditions for details.

