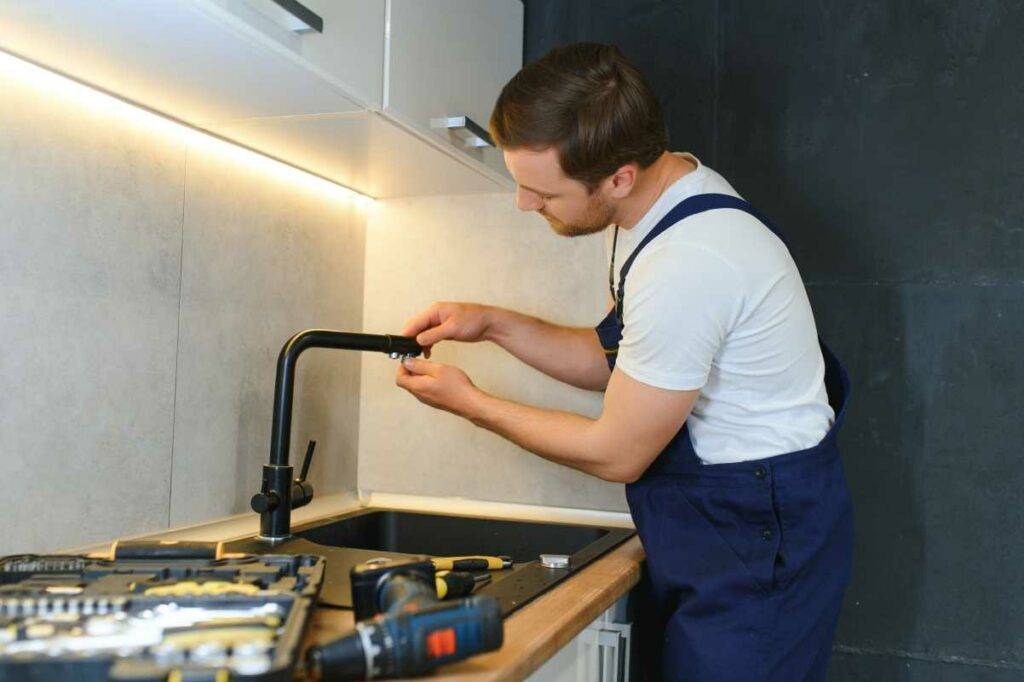
There’s something uniquely irritating about a leaky faucet. Whether it’s the relentless drip-drip-drip or the waste of water and rising utility bills, a leaky faucet isn’t just a nuisance it’s a call to action. I experienced this firsthand with my bathroom sink faucet, which seemed to drip just enough to keep me on edge. If you’ve ever faced a similar situation, you’ll understand the sense of urgency it brings.
How to Fix a Leaky Faucet?
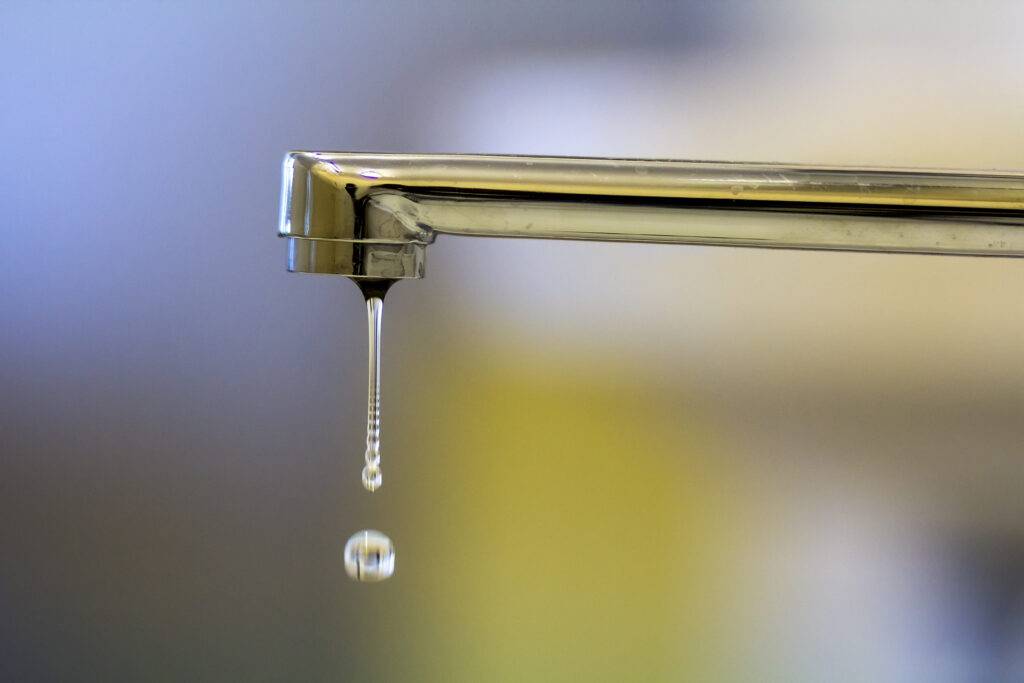
In this guide, I’ll share my journey of fixing a leaky sink faucet and a leaky bathtub faucet. We’ll start with the basics and then dive deep into the step-by-step process, including some common pitfalls and troubleshooting tips. Let’s get started.
Understanding the Problem
The sink in my bathroom started with a slow drip that got progressively worse. It wasn’t just an annoying sound; I knew it was a waste of water, and that added to my utility bills. I also worried about potential water damage if the leak worsened.
Identifying the Type of Faucet
Before we can fix a leaky faucet, we need to understand what type of faucet we’re dealing with. There are several common types: compression, ball, cartridge, and ceramic disk. Each has its unique mechanisms and potential causes for leaks.
- Compression Faucets: These use rubber washers to create a seal. They’re often found in older homes, and their washers can wear out over time.
- Ball Faucets: Common in kitchens, these use a rotating ball to control the flow of water. Leaks might be caused by worn O-rings or a damaged ball assembly.
- Cartridge Faucets: These have a cylindrical cartridge that controls water flow. If there’s a leak, the cartridge might need to be replaced.
- Ceramic Disk Faucets: These use ceramic disks to control water flow. Leaks are less common but can occur if the disks are damaged or the O-rings wear out.
For my leaky bathroom sink faucet, I determined it was a compression type, which pointed me toward the washers as a likely source of the problem.
Common Causes
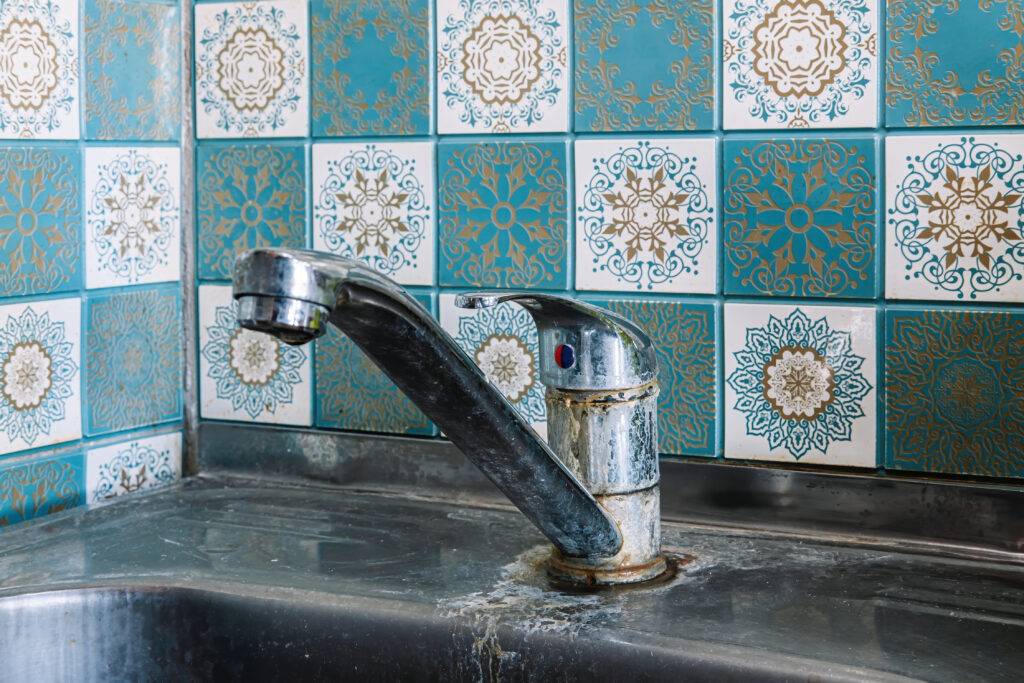
Once I identified my faucet type, I researched common causes of leaks in compression faucets. Worn washers and O-rings were often the culprits. Given that I wasn’t sure of the exact size of the washer I needed, I decided to buy a set of assorted washers and O-rings. It’s better to have extra parts than to make a second trip to the hardware store.
Tools Required
I gathered the tools I would need for the job:
- Adjustable wrench
- Screwdrivers (both Phillips and flathead)
- Replacement washers and O-rings
- Plumber’s tape
- Towel or rag
- Small bowl or container (to hold parts during disassembly)
With everything ready, I set to work.
Fixing the Leaky Sink Faucet
Step 1: Turn Off the Water Supply
The first step in any plumbing project is to turn off the water supply. This is crucial without doing so, you could end up with a flood in your bathroom. I located the shut-off valves under my sink and turned them clockwise to stop the water flow. To be safe, I also checked my main water valve to ensure it was off. With the water off, I opened the faucet to release any remaining pressure.
Step 2: Disassemble the Faucet
Next, I needed to disassemble the faucet. This step requires a bit of patience and care, especially if you’ve never taken a faucet apart before. I used a screwdriver to remove the handle, then used my adjustable wrench to loosen the nut that held the stem in place. Once the stem was out, I could see the washer at its base.
I kept all the parts in a small bowl to avoid losing them. It’s a simple precaution, but it can save you a lot of frustration later on.
Step 3: Inspect and Replace the Washer
Upon inspection, the washer was clearly worn out. It was cracked and had lost its flexibility, which explained the leak. I replaced it with a new washer from my set, ensuring it was the correct size. To ensure a tight seal, I also applied some plumber’s tape to the threads.
Step 4: Reassemble the Faucet
With the new washer in place, I reassembled the faucet in the reverse order of disassembly. I tightened everything securely but was careful not to over-tighten it this could damage the parts or cause new leaks.
Step 5: Test for Leaks
After reassembling the faucet, I turned the water supply back on and slowly opened the faucet to test for leaks. To my relief, the drip was gone! I let the faucet run for a few minutes to ensure everything was functioning correctly.
Troubleshooting and Additional Tips
Even though the leak in my sink faucet was fixed, there are a few additional tips and troubleshooting points that could help you if you face similar issues:
- Be Patient: Disassembling a faucet can require some patience, especially if parts are stuck due to corrosion. Apply gentle force and avoid over-tightening.
- Use Plumber’s Tape: This is a simple way to ensure a tight seal on threaded connections.
- Check for Multiple Leaks: If replacing the washer doesn’t fix the problem, there may be other causes, such as worn O-rings or a damaged valve seat. Further investigation may be needed.
Now that we’ve covered how to fix a leaky sink faucet, let’s move on to a leaky bathtub faucet, which can present its own set of challenges. You can also learn about how removing stripped screws is important.
Fixing a Leaky Bathtub Faucet
A leaky bathtub faucet can be more problematic than a sink faucet due to its higher water flow and potential for causing more significant water waste. In my case, the bathtub faucet had a slow but steady drip, which I knew needed immediate attention.
Required Type of Faucet
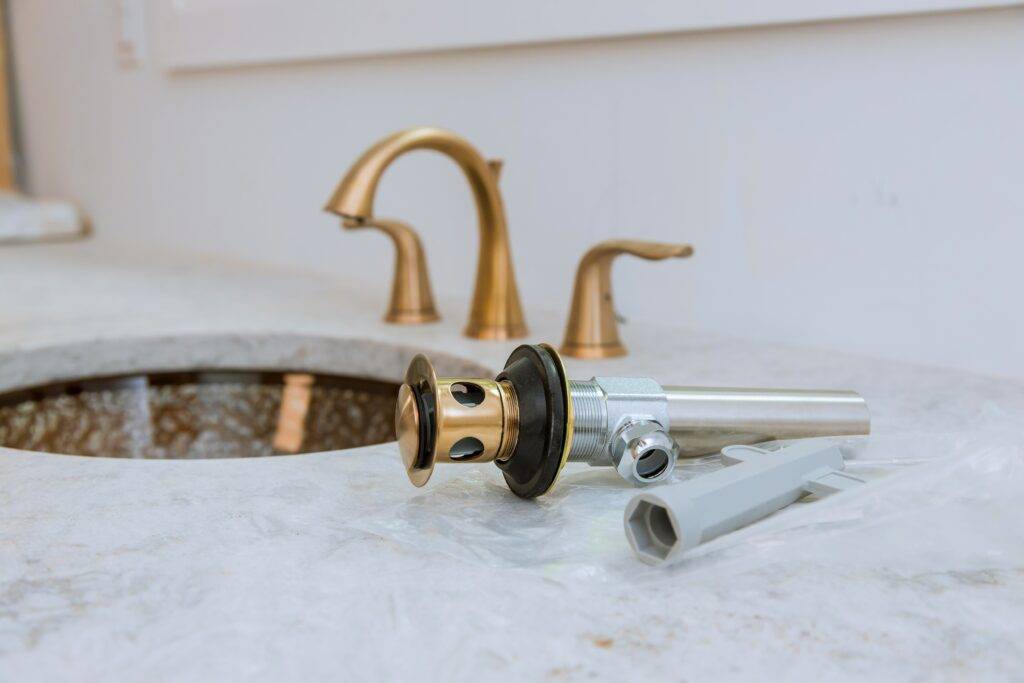
Bathtub faucets often have separate hot and cold handles, which means they can be compression type, similar to many sink faucets. Knowing your bathtub faucet type helps guide the disassembly and repair process. Mine was a compression faucet with separate handles for hot and cold water.
Step 1: Turn Off the Water Supply
The water supply for a bathtub can be more challenging to access. Sometimes, you need to open a panel behind the tub, while other times, you might need to turn off the main water supply to your house. I located the shut-off valves and turned them off to stop the water flow. Once the water was off, I opened the bathtub faucet to release any pressure.
Step 2: Disassemble the Faucet
Disassembling a bathtub faucet can be a bit more complex due to the size and location of the components. I used a screwdriver to remove the handles. After that, I used an adjustable wrench to loosen the escutcheons (the decorative plates around the handles) and then removed the stem assembly. It’s crucial to keep all parts organized during disassembly, as it can be easy to misplace small screws and nuts.
Step 3: Inspect and Replace Worn Parts
With the faucet disassembled, I inspected the washers and O-rings. The washer at the base of the stem was worn, and the O-ring that seals the handle was cracked. I replaced both with new parts, applying the plumber’s tape to ensure a tight seal. If your bathtub faucet has a valve seat, check it for signs of corrosion or damage these can cause leaks too.
Step 4: Reassemble the Faucet
After replacing the worn parts, I reassembled the faucet in the reverse order. I tightened everything securely but was careful not to over-tighten, as this could cause damage or new leaks. Reattaching the handles and escutcheons, I made sure everything was snug and in its proper place.
Step 5: Test the Faucet
Once the bathtub faucet was reassembled, I turned the water supply back on slowly. It’s important to avoid sudden pressure when testing a reassembled faucet. To my relief, the drip was gone. I let the water run for a few minutes to ensure everything was functioning as expected.
Additional Tips and Troubleshooting
Fixing a leaky bathtub faucet can be a bit more involved than a sink faucet. Here are some additional tips and troubleshooting points that can help:
- Use a Small Bowl for Parts: This is a great way to keep everything organized during disassembly and avoid losing small parts.
- Check the Valve Seat: If the valve seat is damaged or corroded, it might need replacing or reseating with a special tool.
- Be Patient and Gentle: Bathtub faucets can be trickier due to tight spaces and potential rust. Apply gentle force and take your time.
- Know When to Call a Professional: If you’re unsure or uncomfortable with any step, or if the leak persists after your DIY efforts, it’s best to call a professional plumber.
Conclusion
Fixing a leaky faucet whether in a sink or a bathtub can seem daunting, but with the right tools and a bit of patience, it’s a manageable DIY project. I found that with careful disassembly, replacement of worn parts, and proper reassembly, both my sink and bathtub faucets were fixed without further issues. I hope this guide helps you tackle your leaky faucets with confidence.
How Do I Fix a Leaky Faucet That Drips from the Spout?
To fix a leaky faucet that drips from the spout, start by turning off the water supply. The method of repair depends on the type of faucet. For compression faucets, a worn washer is often the cause, so replace it. Cartridge faucets might require a new cartridge, while ball faucets often need new O-rings or a ball assembly.
For ceramic disc faucets, check for worn or damaged seals and replace as needed. After replacing the parts, reassemble the faucet and turn the water back on to check for leaks. If the dripping continues, it might be time to call a professional.
When Should I Call a Professional for a Leaky Faucet?
While many faucet leaks can be fixed with basic DIY skills, there are situations where it’s best to call a professional plumber. If you’re unable to turn off the water supply or the shut-off valve is broken, seek professional help to avoid flooding. Additionally, if the leak persists after replacing common parts like washers or cartridges, or if you encounter corrosion or damage within the faucet, a professional can provide expertise and prevent further damage.
Complex faucet types, like ceramic disc or advanced cartridge models, might require specialized tools and knowledge. If you’re unsure about your skills or lack the proper tools, calling a professional ensures a safe and effective repair.
What Are the Common Causes of a Leaky Faucet?
A leaky faucet can be caused by various issues, often related to worn or damaged parts. The most common culprits are worn-out washers or O-rings, which can lead to dripping around the spout or handle. Cartridge faucets might have a damaged cartridge, while compression faucets could have corroded valve seats.
Loose parts or improperly installed components can also result in leaks. If the leak is at the base of the faucet, it could be due to a faulty gasket or improper installation. Understanding the type of faucet you have helps diagnose and address the problem effectively.
