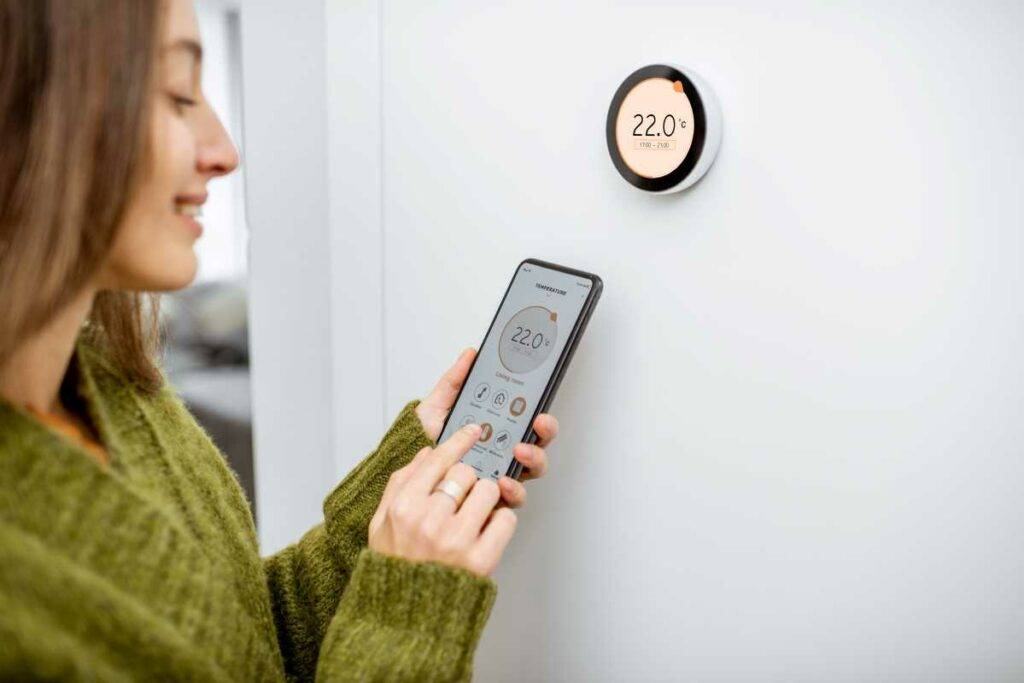
Let me ask you something: when you walk into your home, do you feel like you’re in control? For me, that question used to bring up a mix of answers. Sure, I had my routines and a basic thermostat to manage my heating and cooling, but something was missing. I wanted my home to be smarter, more efficient, and let’s be honest, make it just a bit cooler.
That’s when I decided to take the plunge and install a smart thermostat. After hearing so much about the energy savings, convenience, and cool features these devices offer, I figured it was time to jump in. Here’s my story about installing a smart thermostat in my home and what I learned along the way.
Install a Smart Thermostat
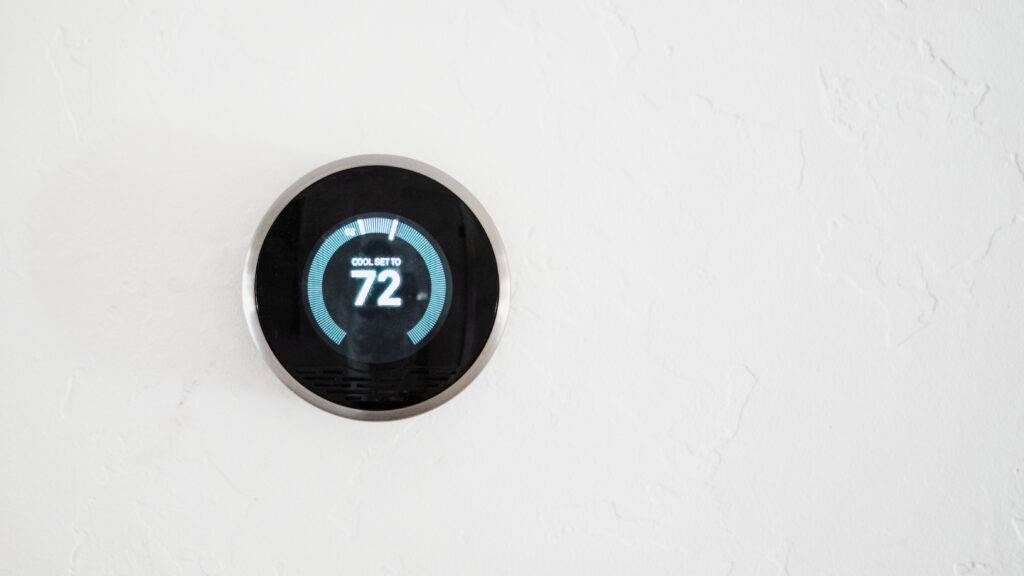
Here’s my story about installing a smart thermostat in my home and what I learned along the way.
Picking the Right Thermostat
The first step in my journey was choosing the right thermostat for my needs. I was torn between a few options, the Ecobee Smart Thermostat with Voice Control, the Honeywell Home T9, and the Nest Learning Thermostat. Ultimately, I went with the Nest because I liked the learning capability and its compatibility with my existing smart home setup. Plus, the design is sleek, and it integrates well with Google Assistant, which I use a lot.
Gathering the Right Tools
Once I got the thermostat, I needed to gather the tools for the installation. This is crucial, especially if you’re doing it yourself. I grabbed a screwdriver, a power drill, a level, some wire labels, and a flashlight (just in case I needed to see into dark corners). And here’s a tip: make sure you have a reliable Wi-Fi connection where you’re installing the thermostat. This can save you a lot of troubleshooting later.
Installing a Smart Thermostat

Here is how I went about doing it and what I learned while applying all my expertise in installing a smart thermostat.
Safety First: Turning Off the Power
Before touching anything, I made sure to turn off the power to the heating and cooling system at the breaker box. I can’t stress this enough, safety always comes first. I double-checked by adjusting the temperature on my old thermostat to ensure nothing happened. When everything was clear, I got to work.
Removing the Old Thermostat
Taking off the old thermostat was surprisingly straightforward. I removed the front cover, unscrewed the baseplate, and gently pulled the thermostat off the wall. This exposed the wiring, which looked a bit like a rainbow spaghetti mess. That’s where the wire labels came in handy. I carefully labeled each wire based on where it was connected, so I wouldn’t have to guess when hooking up the new thermostat.
Installing the New Thermostat
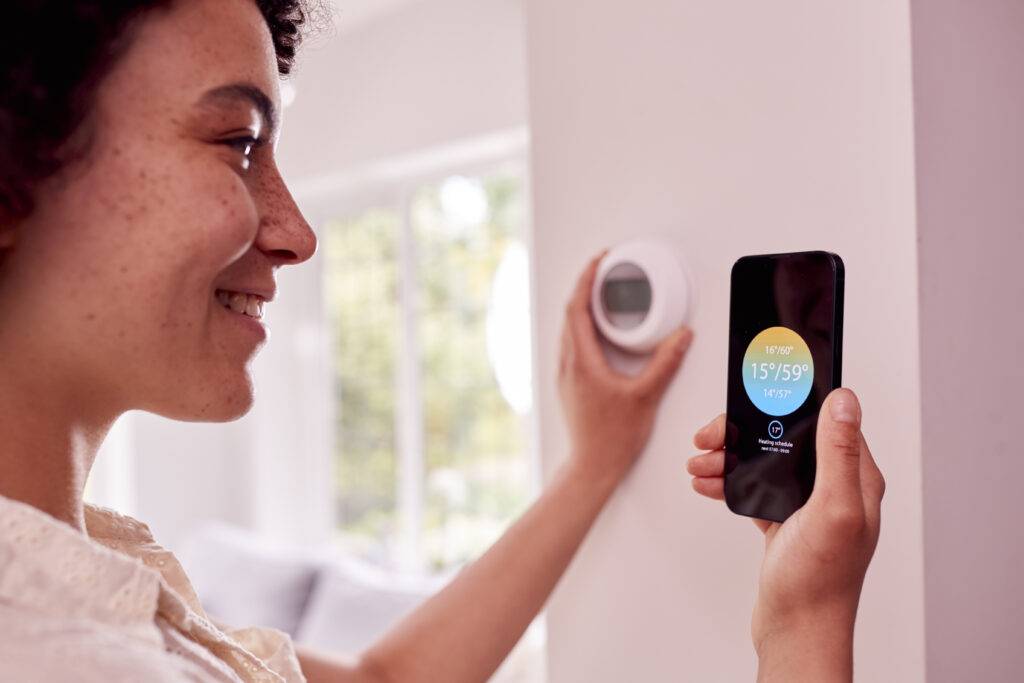
With the old thermostat out of the way, I was ready to install the Nest Learning Thermostat. The first step was attaching the baseplate to the wall. I used the level to ensure it was straight, then drilled holes for the mounting screws. Once the baseplate was secure, I carefully connected each wire to its corresponding terminal. Thanks to the labels, this part was stress-free.
The Nest itself snaps onto the baseplate, and once it was in place, it powered up almost instantly. I followed the on-screen setup wizard, which guided me through the initial configuration and connected the thermostat to my home Wi-Fi. It was like having a friendly guide holding my hand through the whole process.
Testing and Customizing
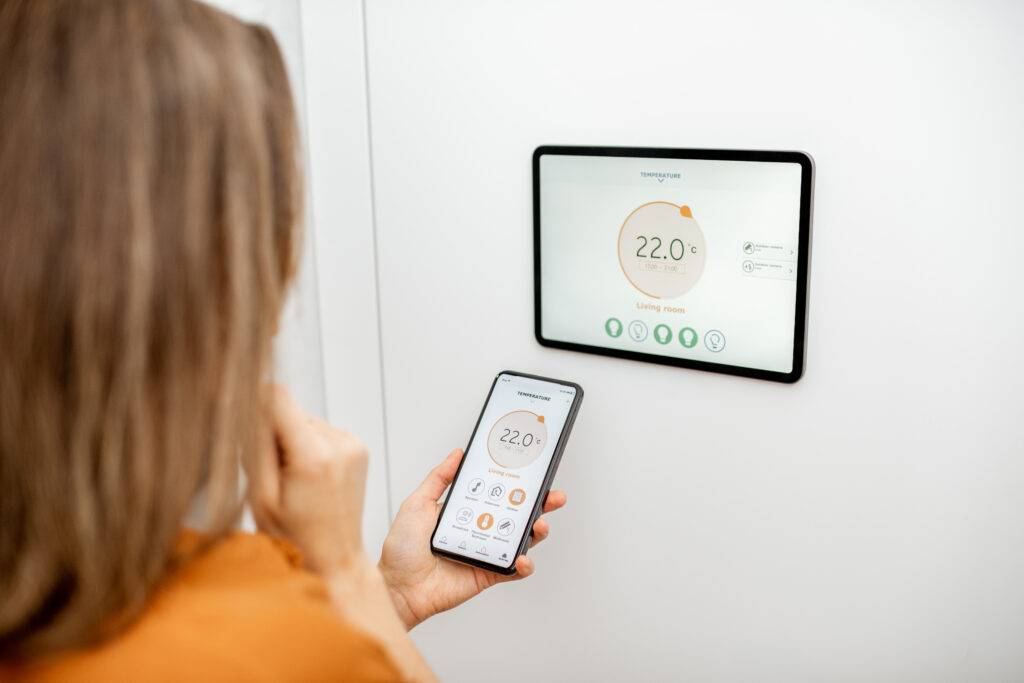
With everything connected, it was time to test the new thermostat. I flipped the power back on at the breaker box and set the thermostat to a comfortable temperature. It was pretty satisfying to hear my heating system kick in and see the temperature start to change. The Nest app on my phone mirrored what was happening on the thermostat, giving me complete control.
One of the coolest things about the Nest Learning Thermostat is its ability to learn from your behavior. Initially, I set a basic schedule, but I knew it would adapt over time. The thermostat uses sensors to detect when you’re home and adjusts accordingly. It also has a feature called Home/Away Assist, which can save energy by lowering the temperature when no one’s around.
Another feature I loved was the energy-saving feedback. The thermostat shows a green leaf when you’re using energy-efficient settings, which made me feel good about my choices. It also provides monthly reports on energy usage, helping you understand where you can save more.
Start reading about How to install Smart Security Cameras
Conclusion
Installing a smart thermostat turned out to be a great DIY project. It was easier than I expected, and the benefits are noticeable. Not only can I control my home’s temperature from anywhere, but I also get to track my energy usage and receive tips on how to save more. The learning feature is impressive, it feels like the thermostat is truly getting to know me and my habits.
If you’re considering installing a smart thermostat, I highly recommend giving it a try. Just remember to take it step-by-step, ensure you’ve turned off the power, and label your wires. With a little patience and the right tools, you’ll be enjoying a smarter, more energy-efficient home in no time.
How Difficult Is It to Install a Smart Thermostat?
Installing a smart thermostat is a manageable DIY project for most people. As long as you have basic tools like a screwdriver, a power drill, and a level, you’re good to go. The most critical step is to turn off the power to your heating and cooling system at the breaker box. If you’re unsure about wiring or electrical work, consider consulting a professional.
The installation process typically involves removing the old thermostat, labeling the wires, attaching the new baseplate, and connecting the wires to the correct terminals. Many smart thermostats come with detailed instructions or setup wizards, making it straightforward to follow along.
Do I Need a C-Wire to Install a Smart Thermostat?
Whether you need a C-wire (common wire) depends on your existing HVAC system and the type of smart thermostat you’re installing. The C-wire provides continuous power to your thermostat, which is essential for many smart thermostats. If your current system doesn’t have a C-wire, some smart thermostats offer workarounds, such as using a power extender kit or connecting to an existing wire with the same function.
However, these solutions might require additional steps or professional assistance. Before purchasing a smart thermostat, check if your system has a C-wire or if your chosen thermostat offers alternative options.
What Are the Benefits of a Smart Thermostat?
Smart thermostats offer several benefits that can enhance your home’s comfort and efficiency. The primary advantage is energy savings. Smart thermostats can learn your schedule and adjust the temperature accordingly, reducing energy use when you’re not home. They also allow remote control via smartphone apps, so you can adjust the temperature from anywhere.
Other features include geofencing, which adjusts the temperature based on your location, and compatibility with voice assistants like Amazon Alexa or Google Assistant. Smart thermostats also provide energy usage reports and tips on how to save more, helping you become more energy-conscious. Ultimately, these benefits contribute to a more comfortable and efficient home environment.
Disclaimer: This information is for general purposes only. Consult a professional for specific advice. See our terms and conditions for details.
