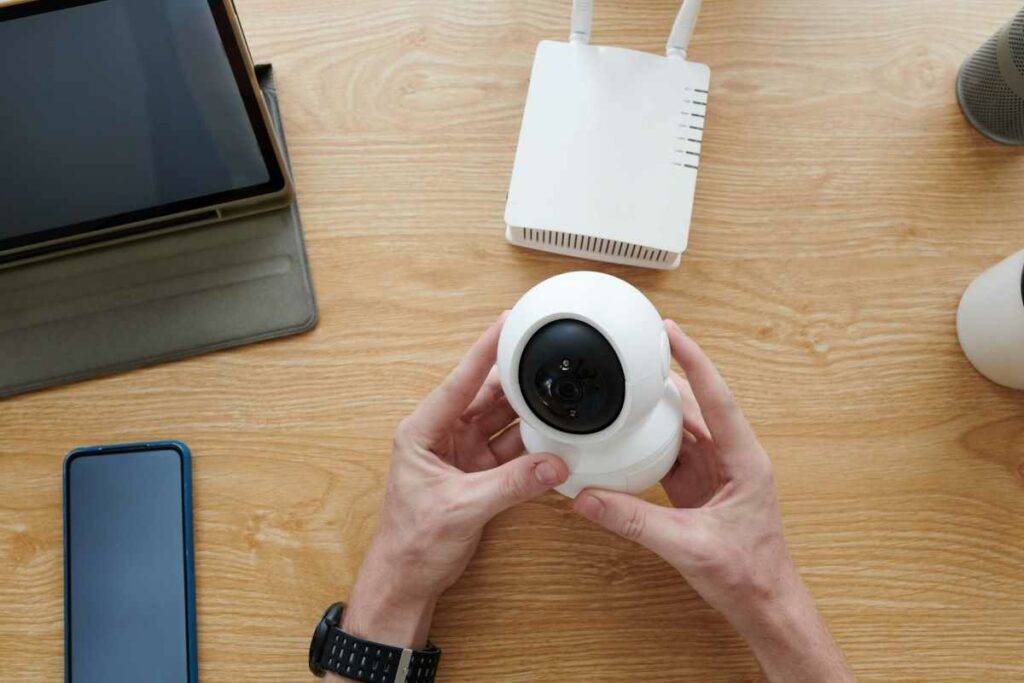
It’s not every day that a simple home upgrade changes the way you feel about your personal space. For me, that change happened when I installed a smart security camera. I’d always been curious about smart home technology and its potential to make life safer and more convenient, but installing a smart security camera was a whole new level. Would it be complicated? What if it didn’t work as expected?
Install Smart Security Cameras
Those were the questions running through my mind as I held the box containing my brand-new Ring Spotlight Cam. But, as it turns out, installing a smart security camera was one of the best decisions I could have made. Not only did I gain a new level of security, but I also discovered how these devices can be a game-changer for modern homeowners. Let’s start with the best camera that I went for, But the selection process is easier said than done.
Choosing the Right Security Camera
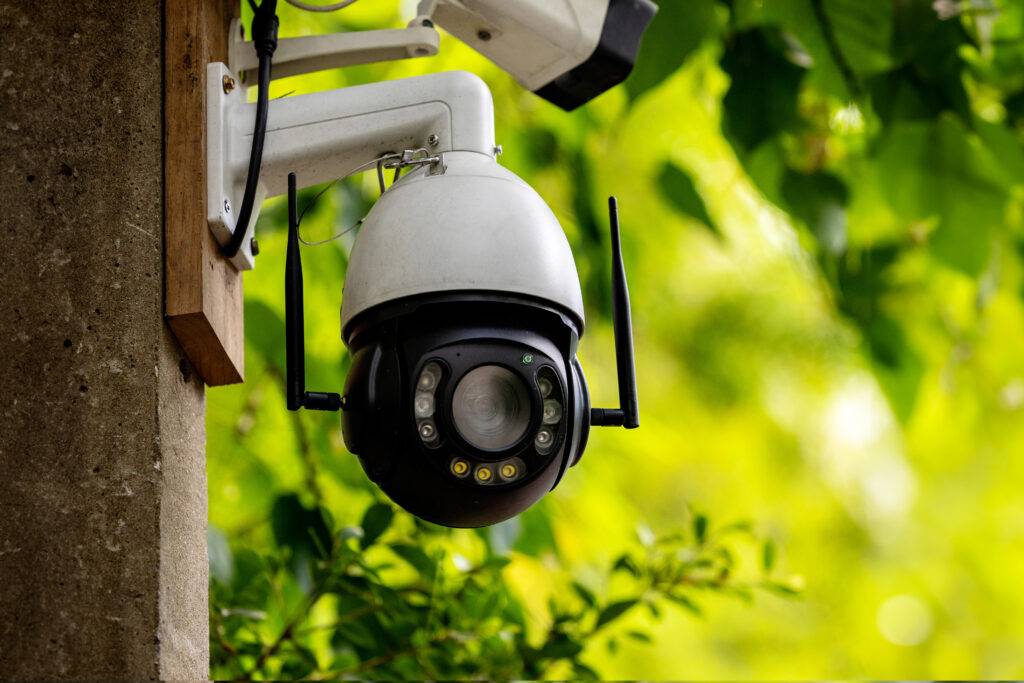
There are so many options out there, from indoor cameras to outdoor cameras, and with a range of features like motion detection, night vision, and two-way audio. After researching, I went with the Ring Spotlight Cam because of its robust features and compatibility with my existing Ring Video Doorbell and Alexa devices. Plus, it came with a built-in spotlight, which was perfect for my needs.
Preparation and Tools
Once I had my security camera, I needed to gather my tools. I grabbed a ladder, a power drill, screwdrivers, a level, and a pencil for marking. It’s also important to have a good Wi-Fi connection wherever you’re installing the camera, so I checked the signal strength near my installation point.
Before getting started, I reviewed the instructions that came with the camera. This step is crucial because different cameras have different installation requirements. My Ring Spotlight Cam could be installed on an exterior wall or soffit, and it needed a nearby power source. I planned to install it on an exterior wall overlooking my backyard, so I had to ensure there was an outdoor power outlet nearby.
Step-by-Step Installation of Smart Security Cameras
With everything in place, I was ready to install the camera.
Mounting
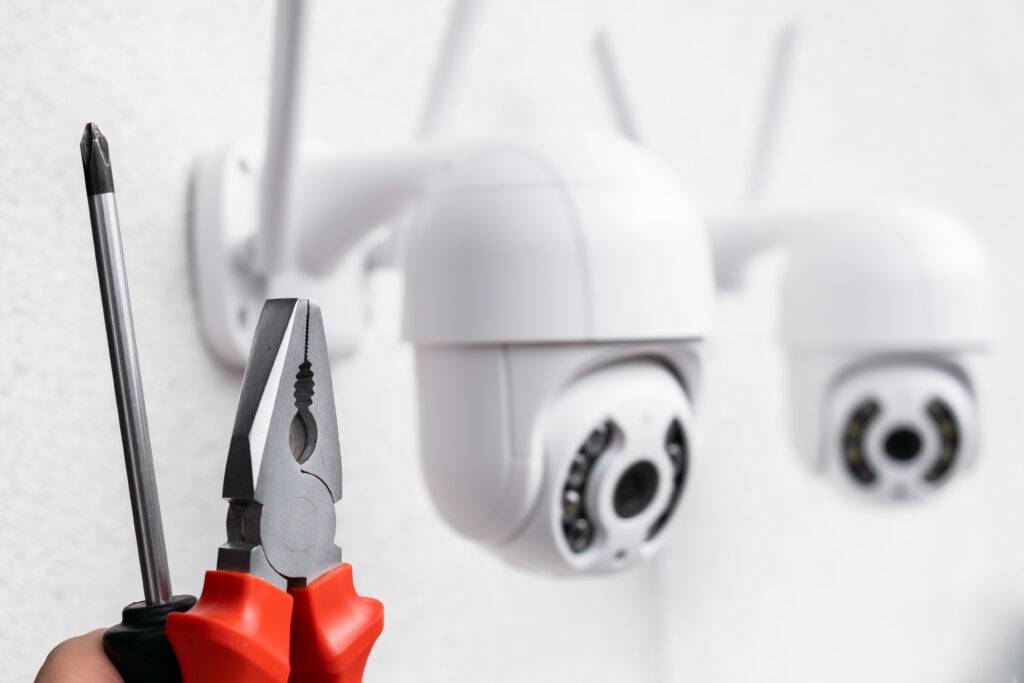
I started with mounting a bracket to mark the drill holes on the wall. After double-checking the placement with a level, I drilled the holes and inserted the anchors. This part requires a bit of muscle, especially if you’re drilling into brick or concrete, so make sure to use a sturdy drill bit.
Once the anchors were in place, I attached the mounting bracket to the wall and secured it with screws. The next step was attaching the camera to the bracket, which was as simple as aligning the camera with the bracket and tightening the locking mechanism. I then adjusted the camera angle to cover the area I wanted to monitor.
Connecting the Camera to Power and Wi-Fi
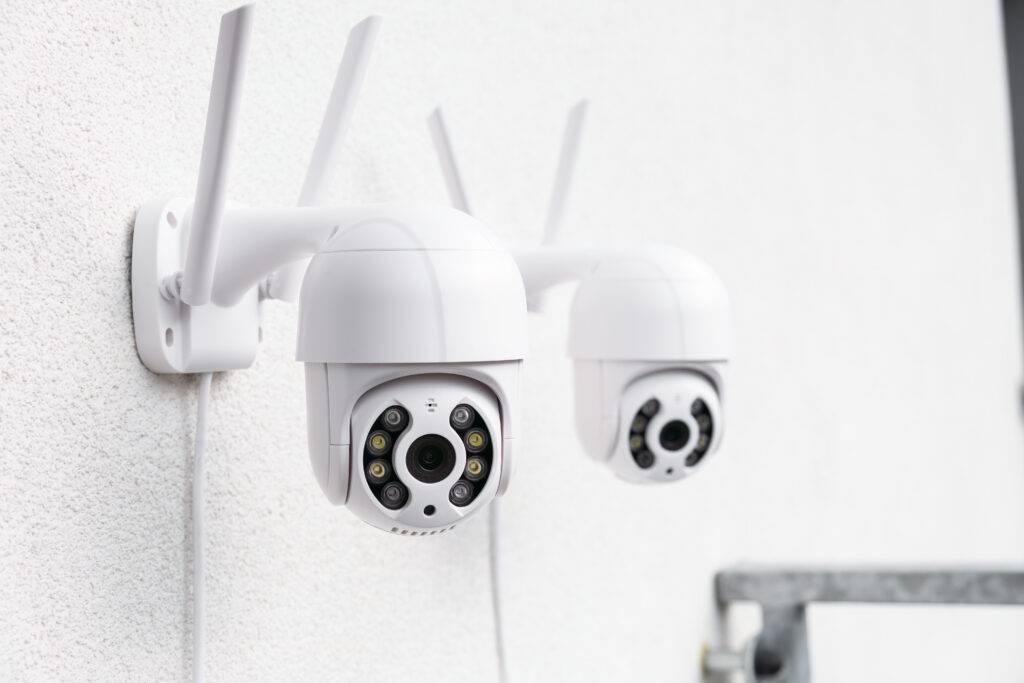
With the camera securely installed, I plugged it into the power outlet. This step was a relief because it meant I was past the tricky part. As the camera powered up, it went through a quick setup process, including connecting to my home Wi-Fi. The Ring app guided me through this step, making it straightforward.
Once connected, the app asked me to name the camera and set up motion zones. This feature allows you to define specific areas for motion detection, reducing false alerts from things like passing cars or swaying trees. I set my motion zones to focus on my backyard and patio, where most activity would occur.
Testing and Customizing
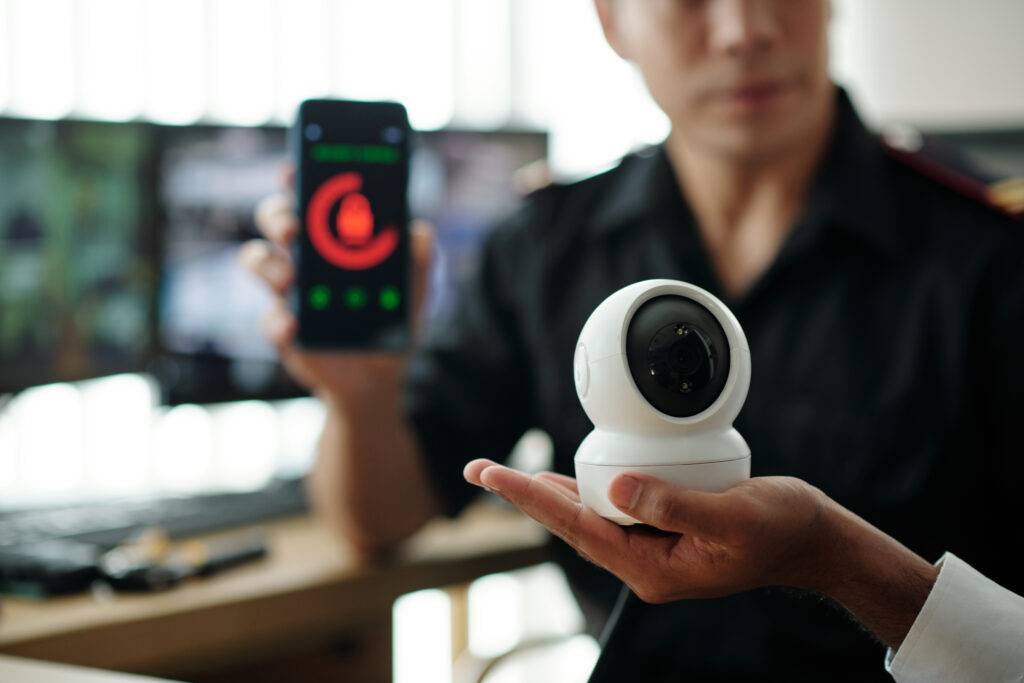
With the camera installed and connected, it was time to test it out. I triggered the motion sensor by walking into the designated zone, and I was impressed with how quickly I received a notification on my phone. The app allowed me to view live footage, record clips, and even use the two-way audio feature to talk through the camera. It was surprisingly clear, even from a distance.
The built-in spotlight was another great feature. It automatically turned on when motion was detected, illuminating the area and providing an extra layer of security. This was particularly useful at night, giving me a clear view of anything happening in my backyard.
The Ring app also lets you set custom alerts, so I could choose when to receive notifications and what kind of alerts I wanted. I could even share access with family members, allowing them to view the camera feed and receive alerts.
Learn more about how to Install a Smart Thermostat
Conclusion
Installing a smart security camera turned out to be a rewarding experience. Not only did I gain a sense of security, but I also discovered the convenience of being able to monitor my home from anywhere. Whether I’m at work or on vacation, I can check in on my house with a simple tap on my phone.
If you’re considering installing a smart security camera, I say go for it. Just make sure you have the right tools, a solid plan, and a clear understanding of the installation process. With a little effort and attention to detail, you’ll be enjoying a safer, smarter home in no time.
Can I Install a Smart Security Camera Myself?
Yes, most smart security cameras are designed for DIY installation. As long as you have basic tools like a power drill, screwdrivers, and a level, you should be able to install the camera yourself. The most critical steps are ensuring proper placement, securely attaching the mounting bracket, and connecting the camera to power and Wi-Fi. If you’re unsure or uncomfortable with the installation process, consider hiring a professional to ensure everything is set up correctly and safely.
What Are the Best Locations to Install a Smart Security Camera?
The best location for a smart security camera depends on what you want to monitor. For outdoor cameras, common locations include entryways, driveways, backyards, and patios. The goal is to cover areas where someone might try to enter your home or where valuables are stored.
For indoor cameras, consider placing them near entrances, in hallways, or in rooms where valuable items are kept. When choosing a location, ensure the camera has a clear line of sight and isn’t obstructed by objects like trees or furniture.
How Do I Prevent False Alarms with a Smart Security Camera?
False alarms with smart security cameras can be annoying, but you can minimize them with a few simple steps. First, use motion zones to define specific areas for detection. This helps avoid alerts triggered by passing cars or moving branches. Second, adjust the sensitivity settings to match your environment; high sensitivity can lead to more false alarms.
Third, ensure the camera is installed in a stable location where it won’t be easily disturbed by wind or vibrations. Finally, some cameras have “Person Detection” or “Animal Detection” features, which can further reduce false alarms by focusing on human or animal movement.
Disclaimer: This information is for general purposes only. Consult a professional for specific advice. See our terms and conditions for details.
