If you’ve ever looked at a piece of wood and thought about how much character it could have with a bit of color and polish, you’re in for a treat. Recently, I took on a wood staining project that transformed a weathered side table into a stunning focal point for my living room.
How To Stain Wood
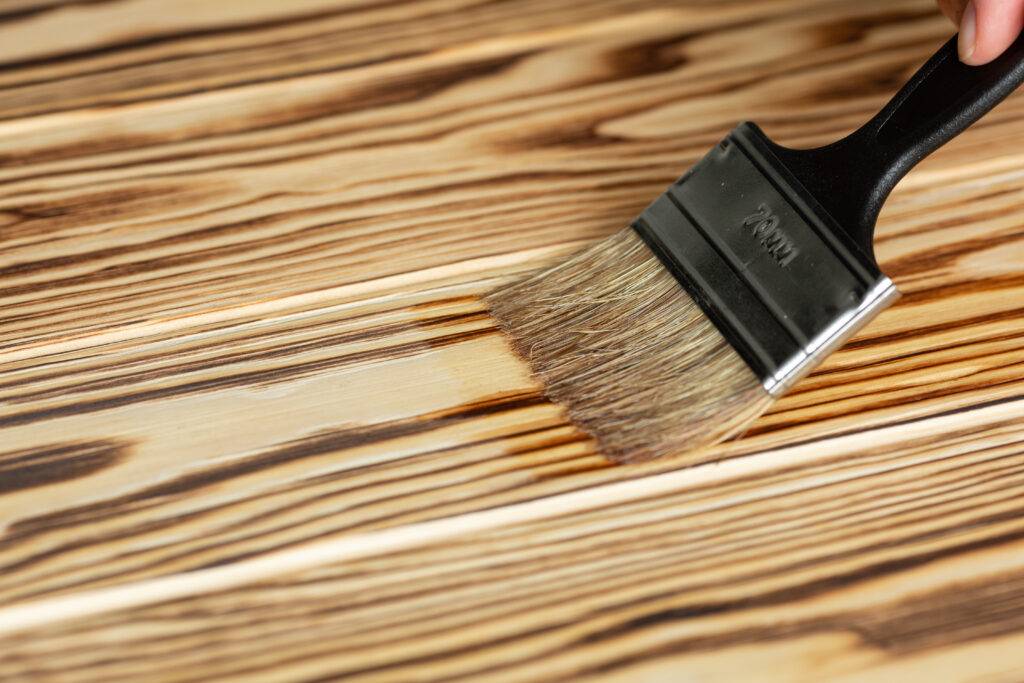
I want to share my journey with you, from finding the perfect piece to bringing out its natural beauty with a touch of stain. Let’s dive in and explore how to stain wood and turn ordinary furniture into something extraordinary!
Discovering a Hidden Gem
It all started when I stumbled upon an old side table at a local flea market. It was sturdy but showing its age—faded, scratched, and looking like it had been abandoned in someone’s attic for years. Despite its rough appearance, I saw potential in its craftsmanship and decided to take it home for a little TLC.
Prepping the Piece
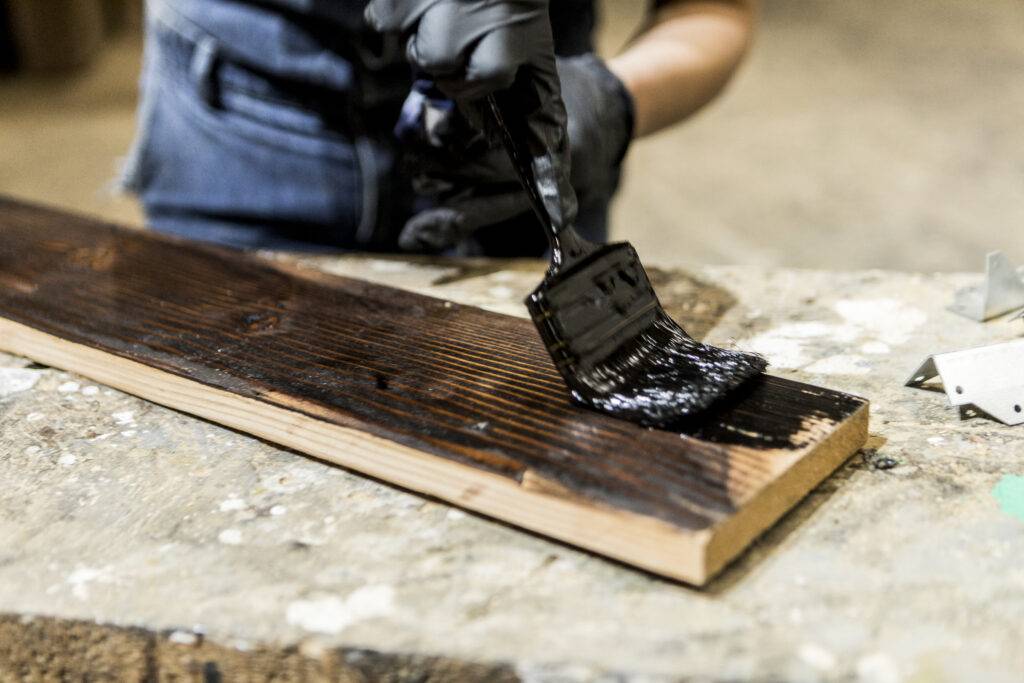
The first step was to strip away the old finish. This was easier said than done. I used a chemical stripper to remove the remnants of paint and varnish. After applying it with a brush, I let it sit for about 15 minutes until the old finish started bubbling. Then, with a scraper and a lot of elbow grease, I removed the gunk, revealing the raw wood beneath.
Next, I sanded the table to create a smooth surface for the stain. I started with 120-grit sandpaper, working my way to a finer 220-grit for a silky finish. As I sanded, I uncovered beautiful grain patterns that I hadn’t seen before. It was like a hidden treasure right in front of my eyes!
Choosing the Stain
I wanted a stain that would highlight the wood’s natural beauty without overpowering it, so I chose a classic walnut stain. It offered the perfect balance of warmth and richness. Stains come in various colors, from light golden tones to deep mahogany, but walnut felt just right for this piece.
Before committing to the color, I tested the stain on a small area. This is something I highly recommend. It gave me a chance to see how the wood would react and how many coats I’d need for the desired depth of color. Once I was happy with the test patch, it was time to start staining.
Process for Staining a Wood?
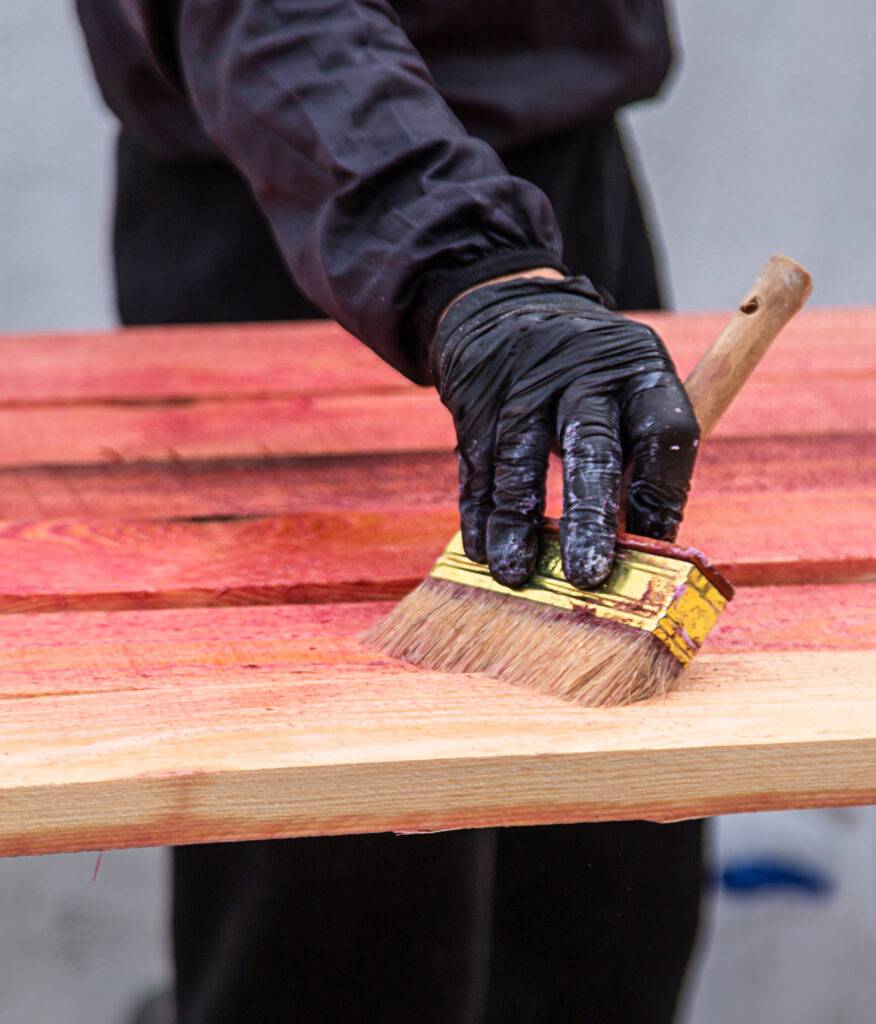
With my stain and a set of clean rags, I was ready to get to work. I stirred the stain thoroughly to ensure an even color. Then, I applied it with a staining pad in long, smooth strokes, following the direction of the grain. It’s crucial to avoid over-saturating the wood, as this can lead to blotching and uneven coloring.
After applying the stain, I let it sit for a few minutes before wiping off the excess with a clean rag. This step is critical; it prevents the stain from becoming too dark or sticky. The longer you leave the stain on, the darker it gets, so timing is key. I repeated this process twice, allowing the table to dry completely between coats.
Sealing the Deal
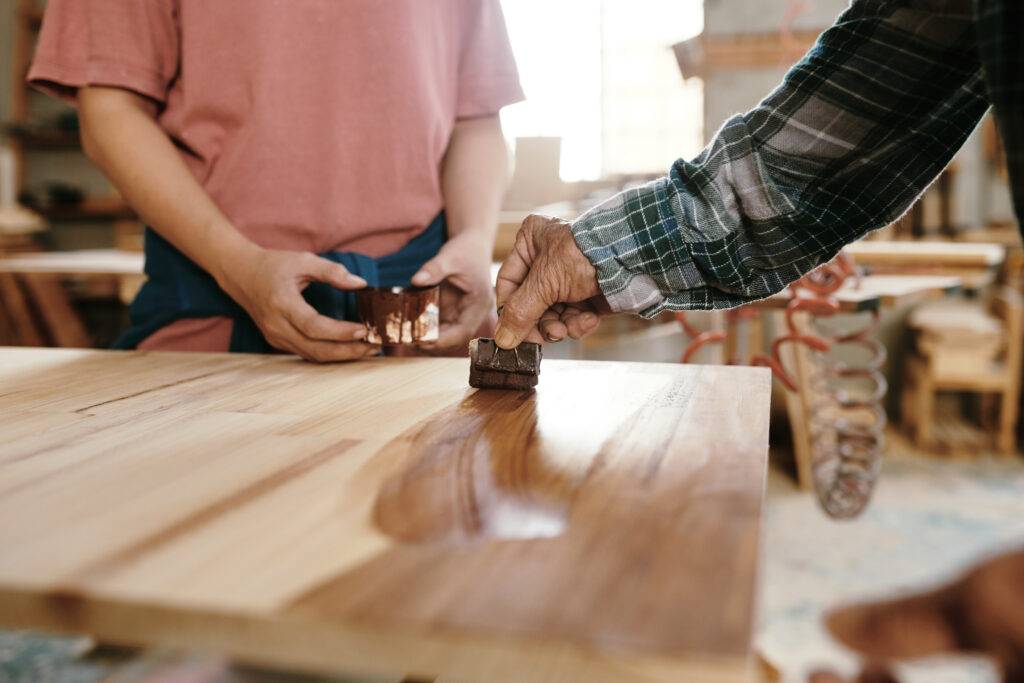
Once the staining was done, I needed to protect the wood with a sealer. This not only preserves the color but also adds durability and a nice sheen. I opted for an oil-based polyurethane sealer for its glossy finish and strong protection. Using a brush, I applied thin, even coats, allowing each layer to dry completely before adding the next.
I was amazed at how the sealer transformed the table, adding depth and vibrancy to the stain. It truly brought out the grain’s beauty, and I knew the table was now ready to be a focal point in any room.
Advantages and Disadvantages of Staining Wood
When I first started staining wood, I was blown away by how much it could transform an old, dull piece into something vibrant and full of character. But, you know, it’s not all sunshine and roses—there are definitely some pros and cons to consider. Let me break them down for you from my experience.
Advantages
There are so many reasons to love wood staining, and these are the ones that keep me coming back for more projects:
- Enhances Natural Beauty: Staining really brings out the unique grains and textures in the wood. It’s like unlocking the wood’s hidden character. With each brushstroke, you can see the depth and details coming to life. It’s mesmerizing!
- Customizable: One thing I love about stains is the variety. You can choose from a range of colors and finishes, so it’s easy to find something that matches your style and home decor. Whether you want something light and airy or dark and dramatic, there’s a stain for you.
- Protection: Stains do more than just make things look pretty. When you seal them properly, they can help protect the wood from moisture, UV rays, and everyday wear and tear. This is especially important if you’ve got kids, pets, or a lot of traffic in your home.
- Affordable: Staining is generally more cost-effective than painting or buying new furniture. I love that I can take an old, thrifted piece and give it new life without breaking the bank. It’s a budget-friendly way to refresh your home.
Disadvantages
But, like I said, it’s not all perfect. Here are some of the challenges I’ve encountered:
- Blotching: Some woods, like pine and birch, don’t always take stain evenly. This can lead to blotching and uneven coloration, which can be frustrating. To help with this, I’ve learned to use a pre-stain conditioner, but it’s an extra step to consider.
- Requires Preparation: Staining isn’t something you can rush. Proper sanding and cleaning are essential, and it can take time. You have to be patient and thorough, or you might end up with a less-than-stellar finish.
- Limited Color Range: While stains come in a variety of colors, the range isn’t as extensive as paint. If you’re looking for something super specific, like a bright turquoise, you might have to compromise or get creative.
- Environmental Concerns: Oil-based stains and sealers can contain volatile organic compounds (VOCs), which might not be the best choice if you’re eco-conscious. The fumes can be quite strong, too. I usually opt for water-based stains when I can, but they often require more coats to achieve the same depth of color.
Conclusion
Staining wood can be a rewarding experience, transforming raw or weathered wood into something truly remarkable. By following these steps and taking your time, you can achieve a beautiful, professional-quality finish. Remember, staining is a process that requires patience and attention to detail. From choosing the right wood to selecting the perfect stain and applying a durable finish, each step is crucial to achieving the look you desire.
After sealing and letting the table cure for a couple of days, I placed it in my living room, and it instantly transformed the space. The rich walnut tones added warmth, and the restored carvings gave it a touch of elegance. It’s amazing how a simple staining project can breathe new life into an old piece of furniture.
I hope my journey inspires you to tackle your own wood staining projects. Remember, it’s all about having fun and enjoying the process. Don’t be afraid to experiment with different stains and finishes until you find the perfect look for your home.
How Can I Prevent Blotching When Staining Wood?
Blotching can occur when the stain doesn’t absorb evenly into the wood. To prevent this, try using a wood conditioner or pre-stain sealer. Apply it before staining to create a more uniform surface. Make sure to follow the product’s instructions for the best results.
Can I Stain Wood That’s Already Been Painted or Sealed?
If you want to stain wood that’s been painted or sealed, you’ll need to remove the old finish first. This usually involves sanding or using a chemical stripper to get down to the bare wood. It’s a bit of extra work, but it’s worth it to ensure the new stain adheres properly.
How Do I Maintain Stained Wood to Keep It Looking Fresh?
To keep stained wood looking fresh, avoid using harsh chemicals or abrasive cleaners. Instead, use a soft cloth and a wood-specific cleaner to wipe down surfaces. If the wood starts to look dull, you can apply a new coat of sealer to restore its shine. Additionally, keep wood out of direct sunlight to prevent fading.
